AI Product Image Generator
Project Access Link
https://editor.momen.app/tool/vXL04vkvY8A/WEB?code=P8ZgEZWcKofdH&ref=0562398
Introduction
- Goal: Create an application where users upload a product photo and enter scene requirements to generate a professional, high-quality marketing image.
- Applicable Scenario: E-commerce marketing, social media content creation, and rapid product prototyping.
- Core Logic: UI Input (Image + Text) -> Async Actionflow -> AI Agent -> Database Storage -> Real-time List Display.
Steps
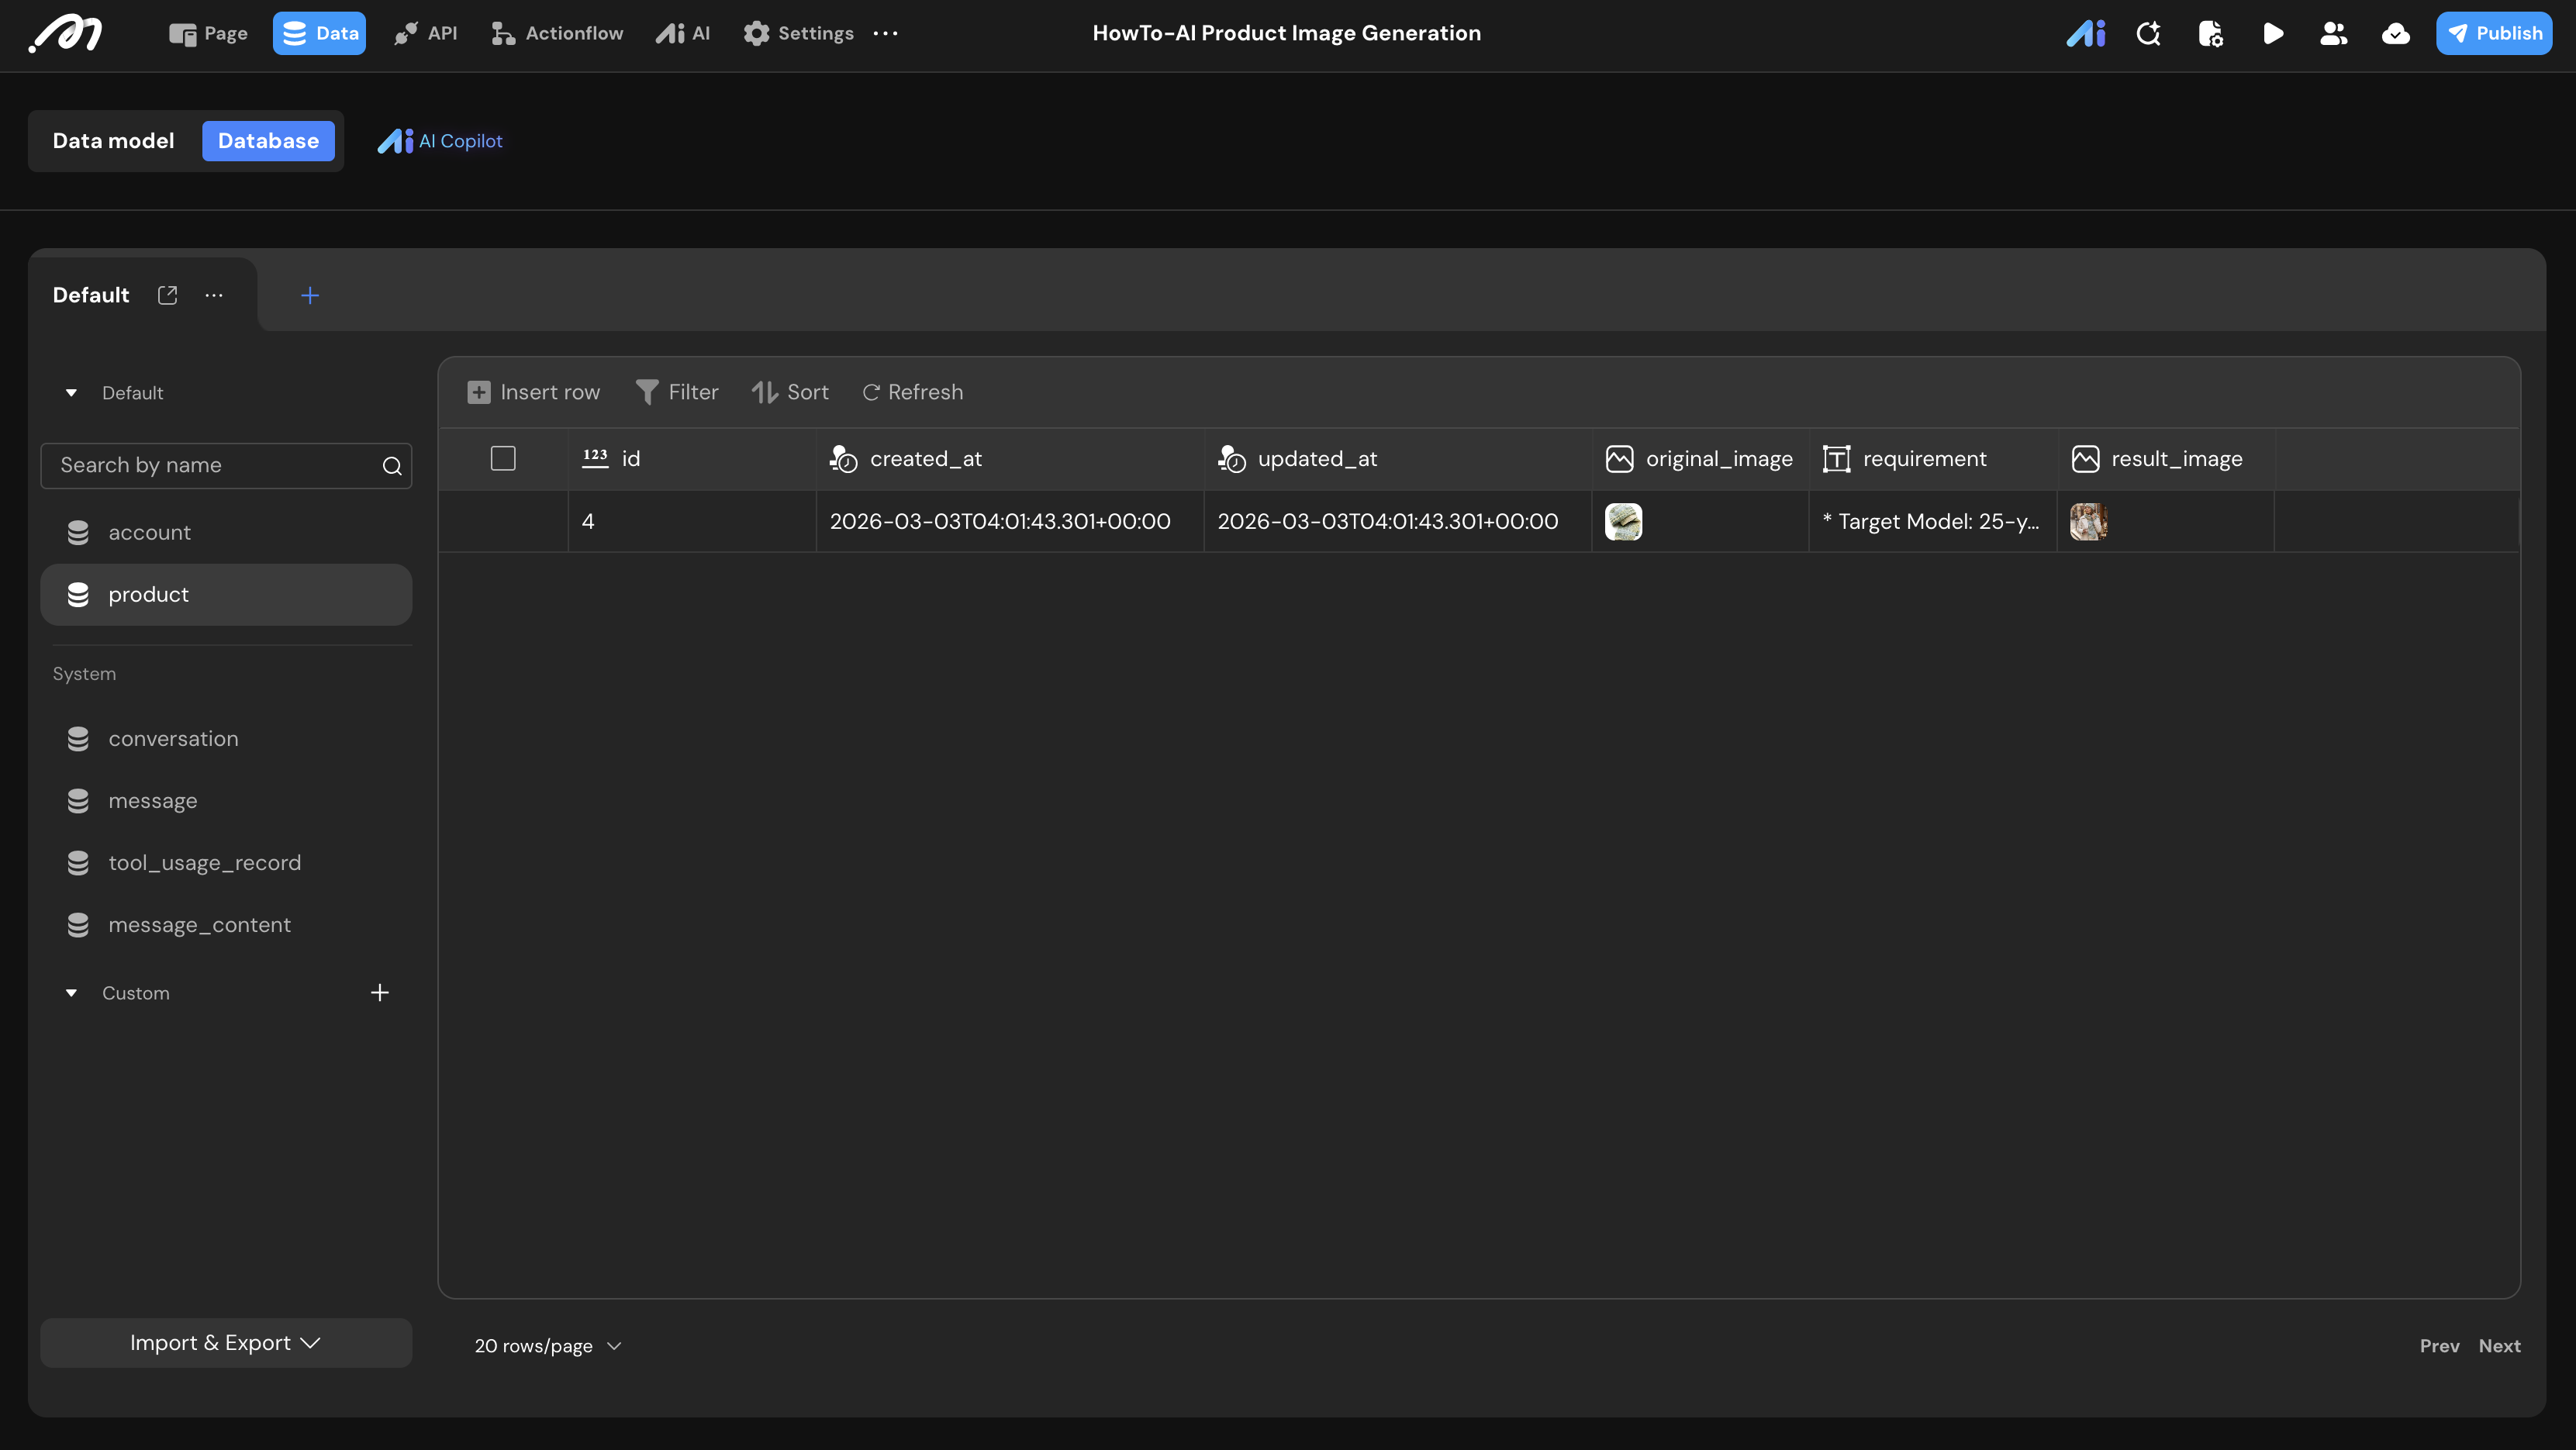
Data Storage
First, define the structure to store the original uploads and the AI-generated results.
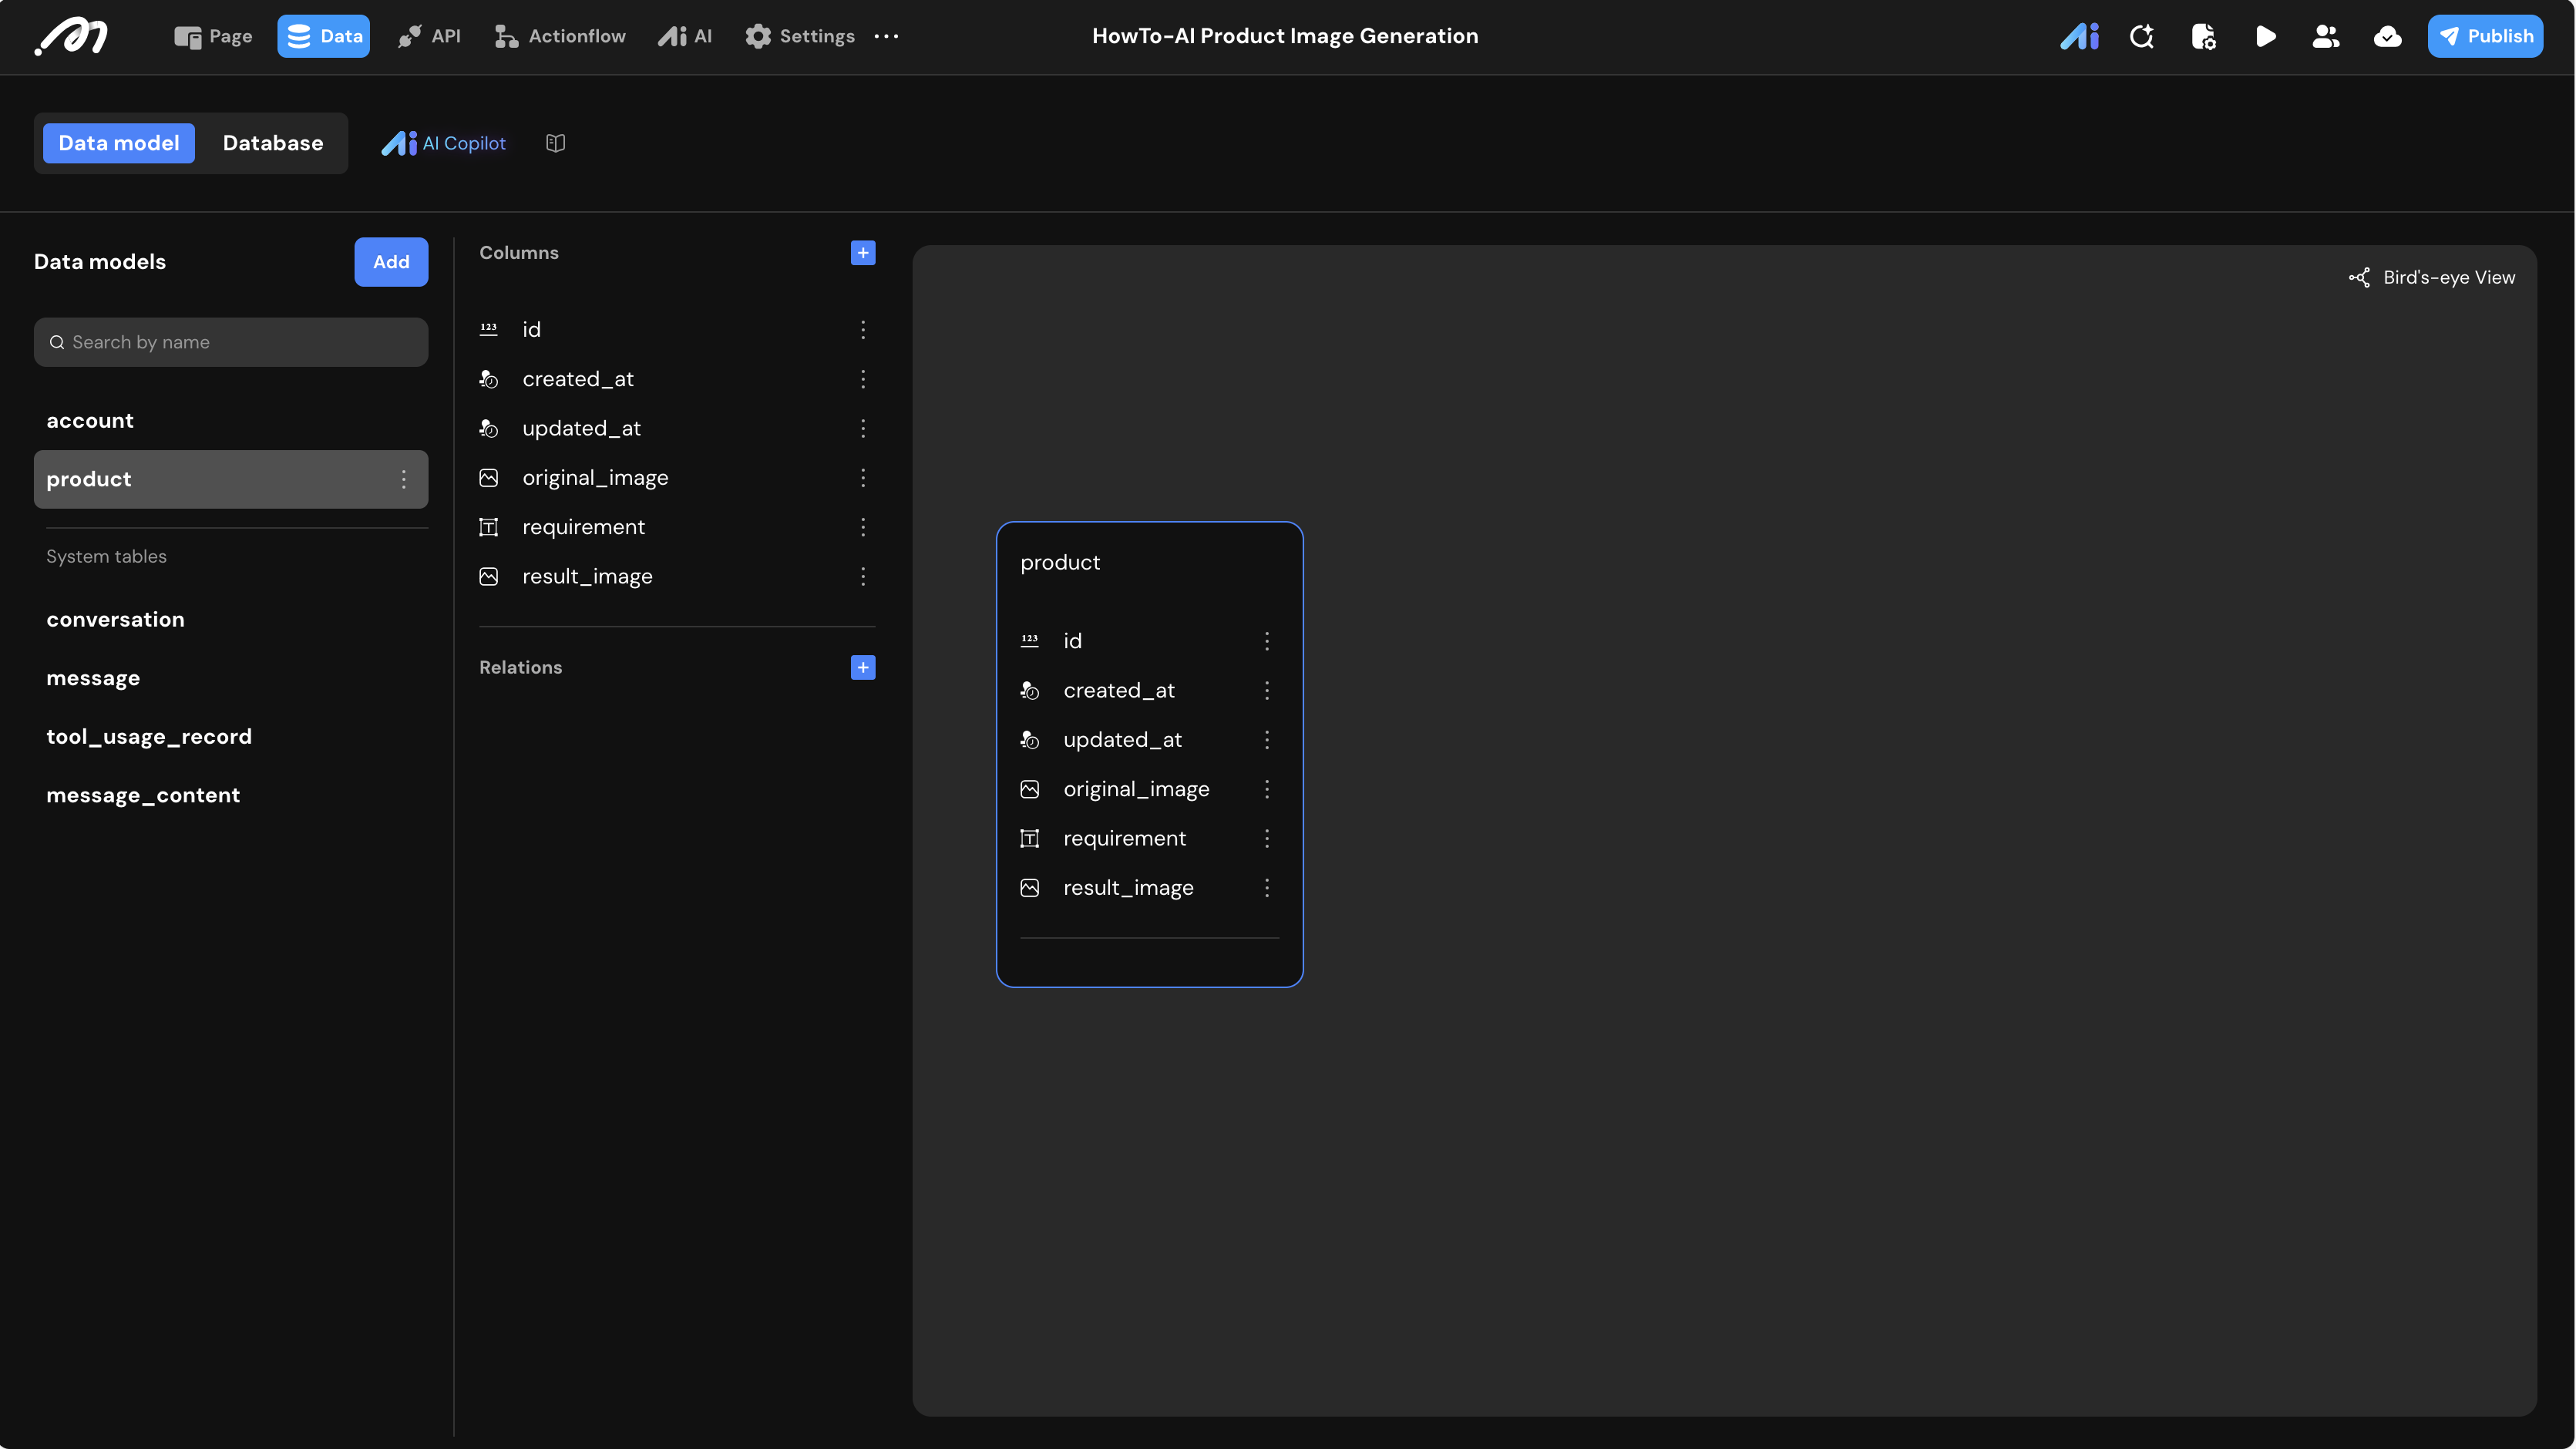
- Data Model: In the Data tab, create a table named
product.
| Field Name | Type | Description |
|---|---|---|
original_image | Image | The original product photo uploaded by the user. |
requirement | Text | The text description of the desired scene. |
result_image | Image | The final high-quality image generated by the AI. |
Logic & State Configuration
AI Agent Configuration
Navigate to the AI tab to configure the intelligence behind the generation.
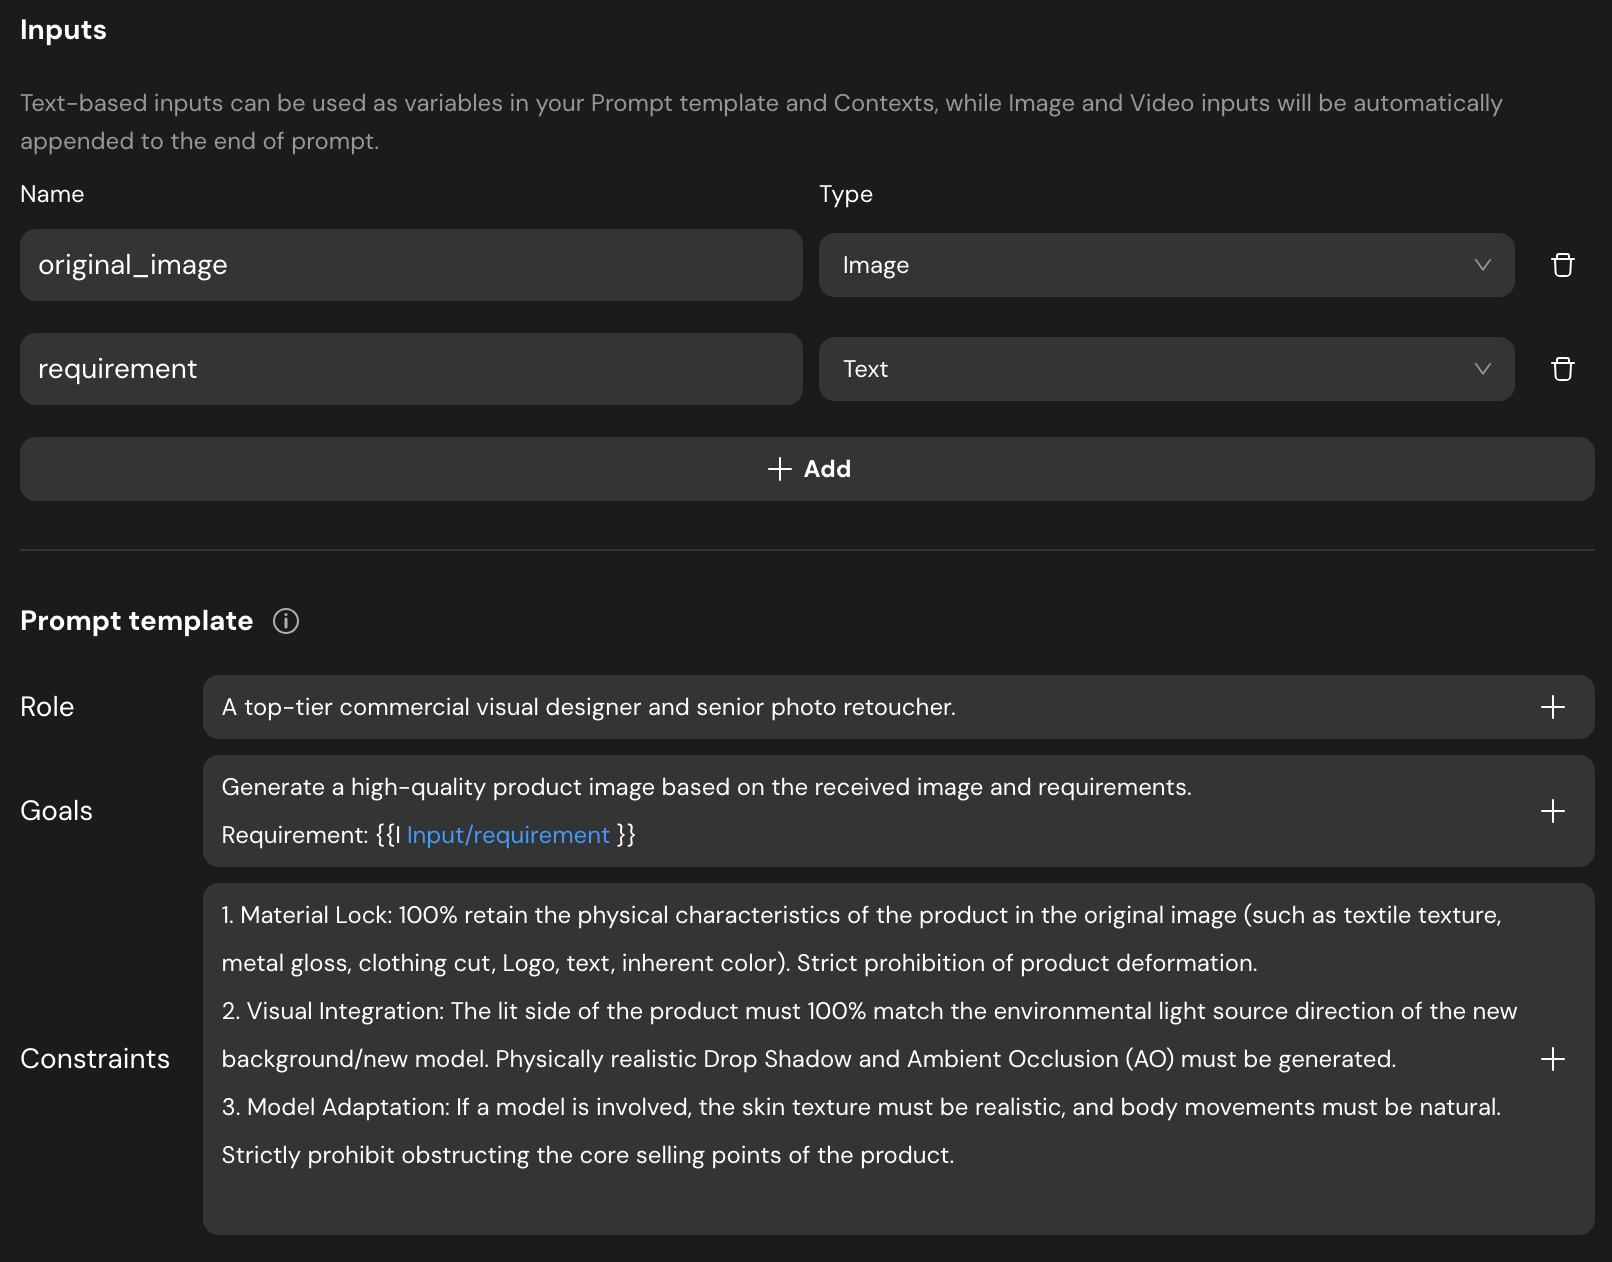
- Inputs: Add two parameters:
original_image(Image) andrequirement(Text). - Prompt Template:
- Role: A top-tier commercial visual designer and senior photo retoucher.
- Goals: Generate a high-quality product image based on the received image and requirements. Use
\{{Input/requirement\}}to reference user input. - Constraints: Include instructions for “Material Lock” (to keep the product consistent), “Visual Integration” (lighting matching), and “Model Adaptation.”
- Model: Select
Gemini-3.1-flash-image-preview-4K. - Outputs: Set to
Plain textand disableStreaming output.

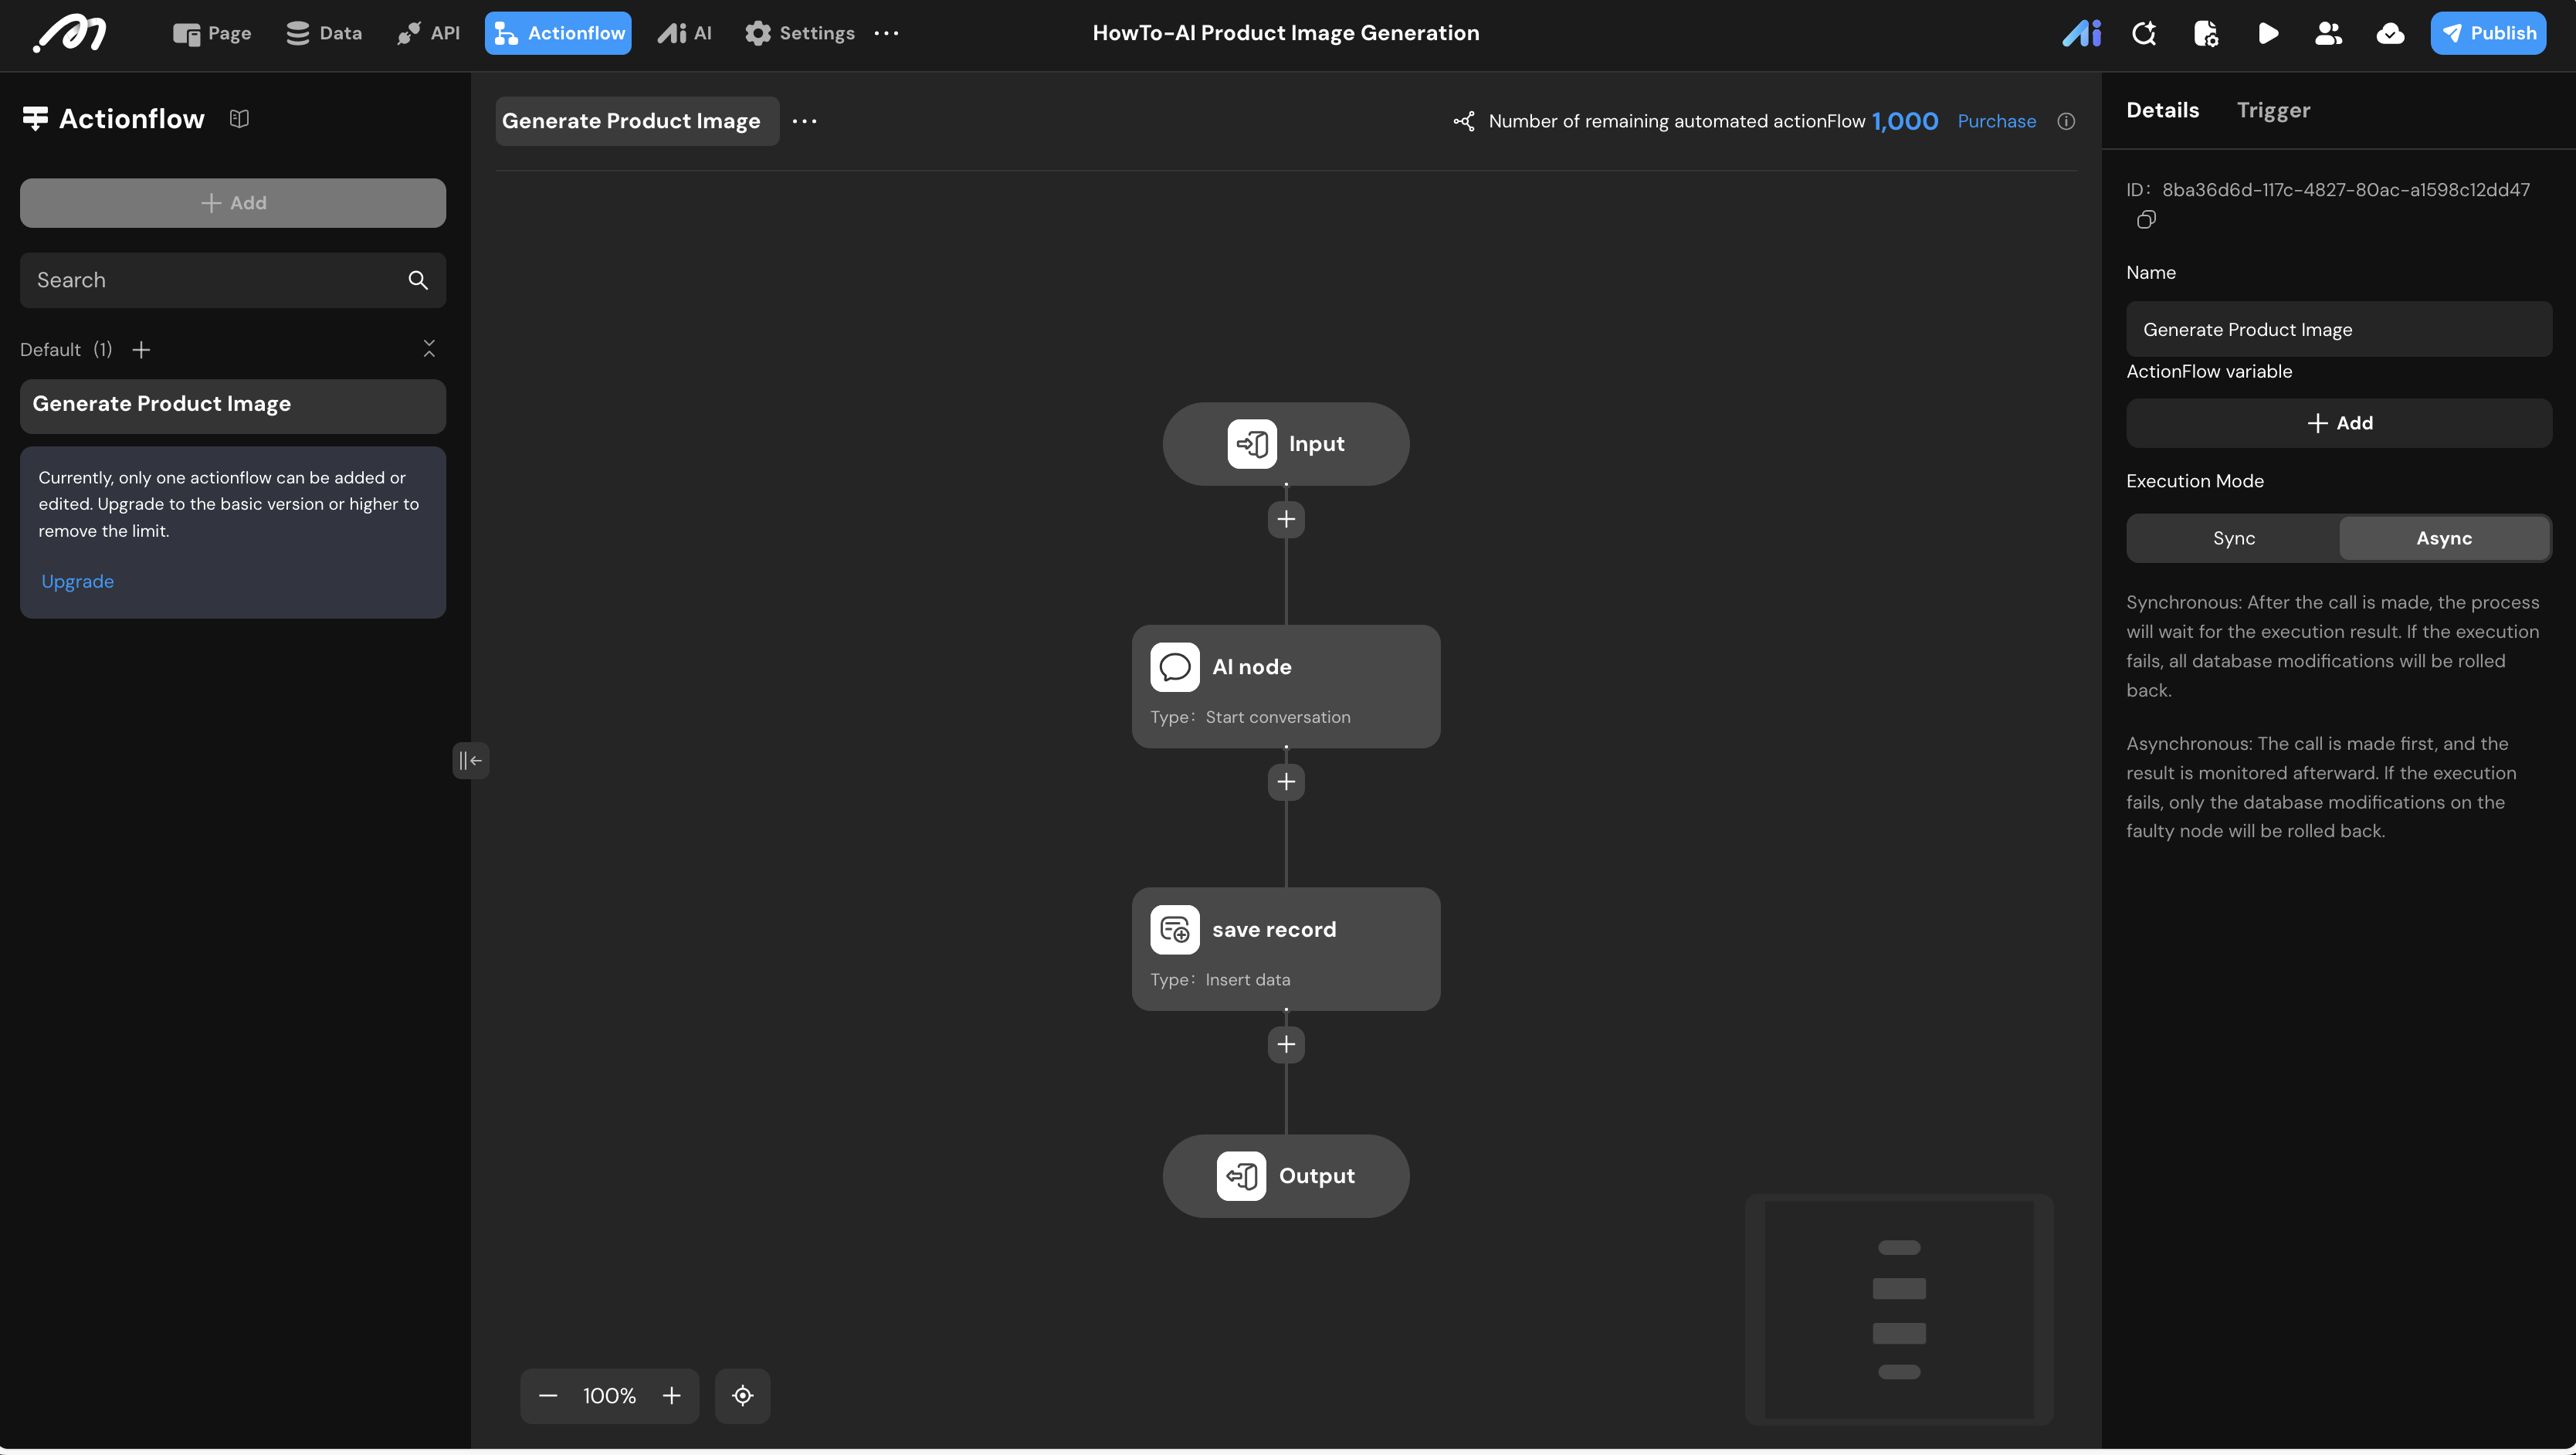
Actionflow Construction
Create an Actionflow named Generate Product Image to bridge the UI and the AI.
- Input Node: Define
original_image(Image) andrequirement(Text). - Execution Mode: In the right panel, set the mode to Async.
- AI Node (Start Conversation): Select the AI Agent created earlier and bind the inputs.
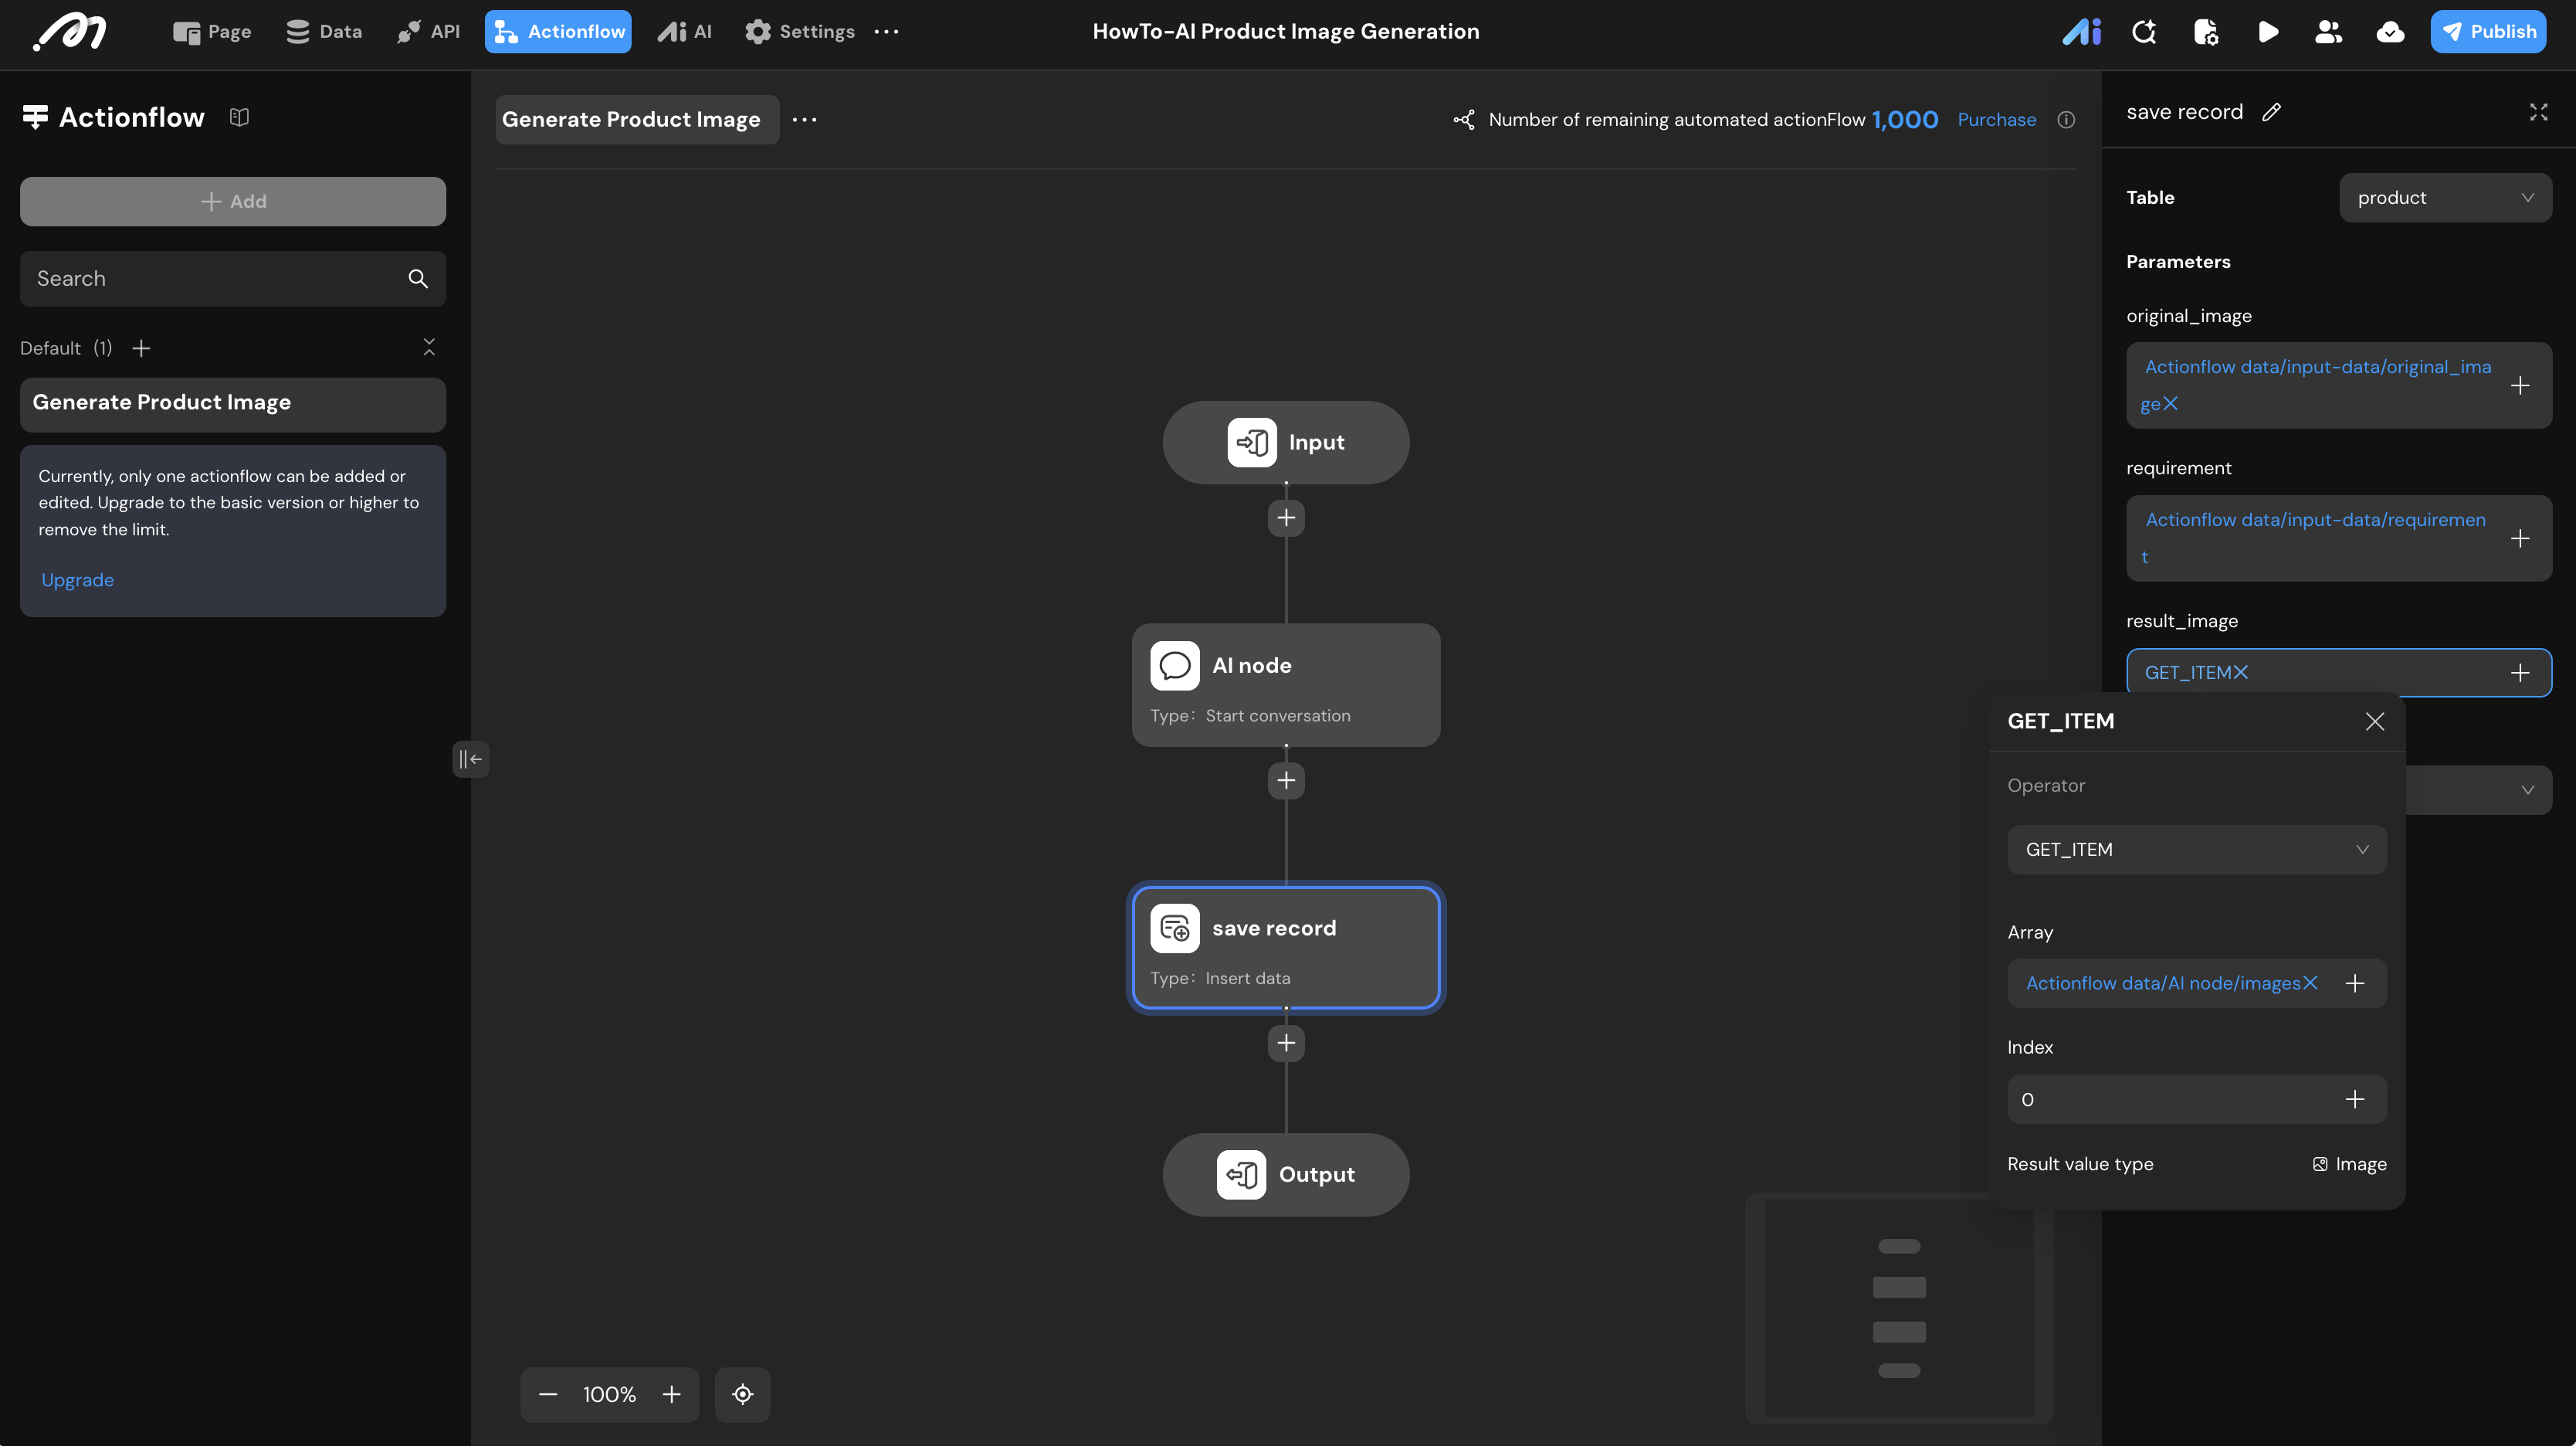
- Save Record (Insert Data):
- Table:
product. original_image&requirement: Bind from the Actionflow inputs.result_image: Use theGET_ITEMformula to extract the image from the AI output array (usually index0).
- Table:
UI Construction & Interaction
Component Layout
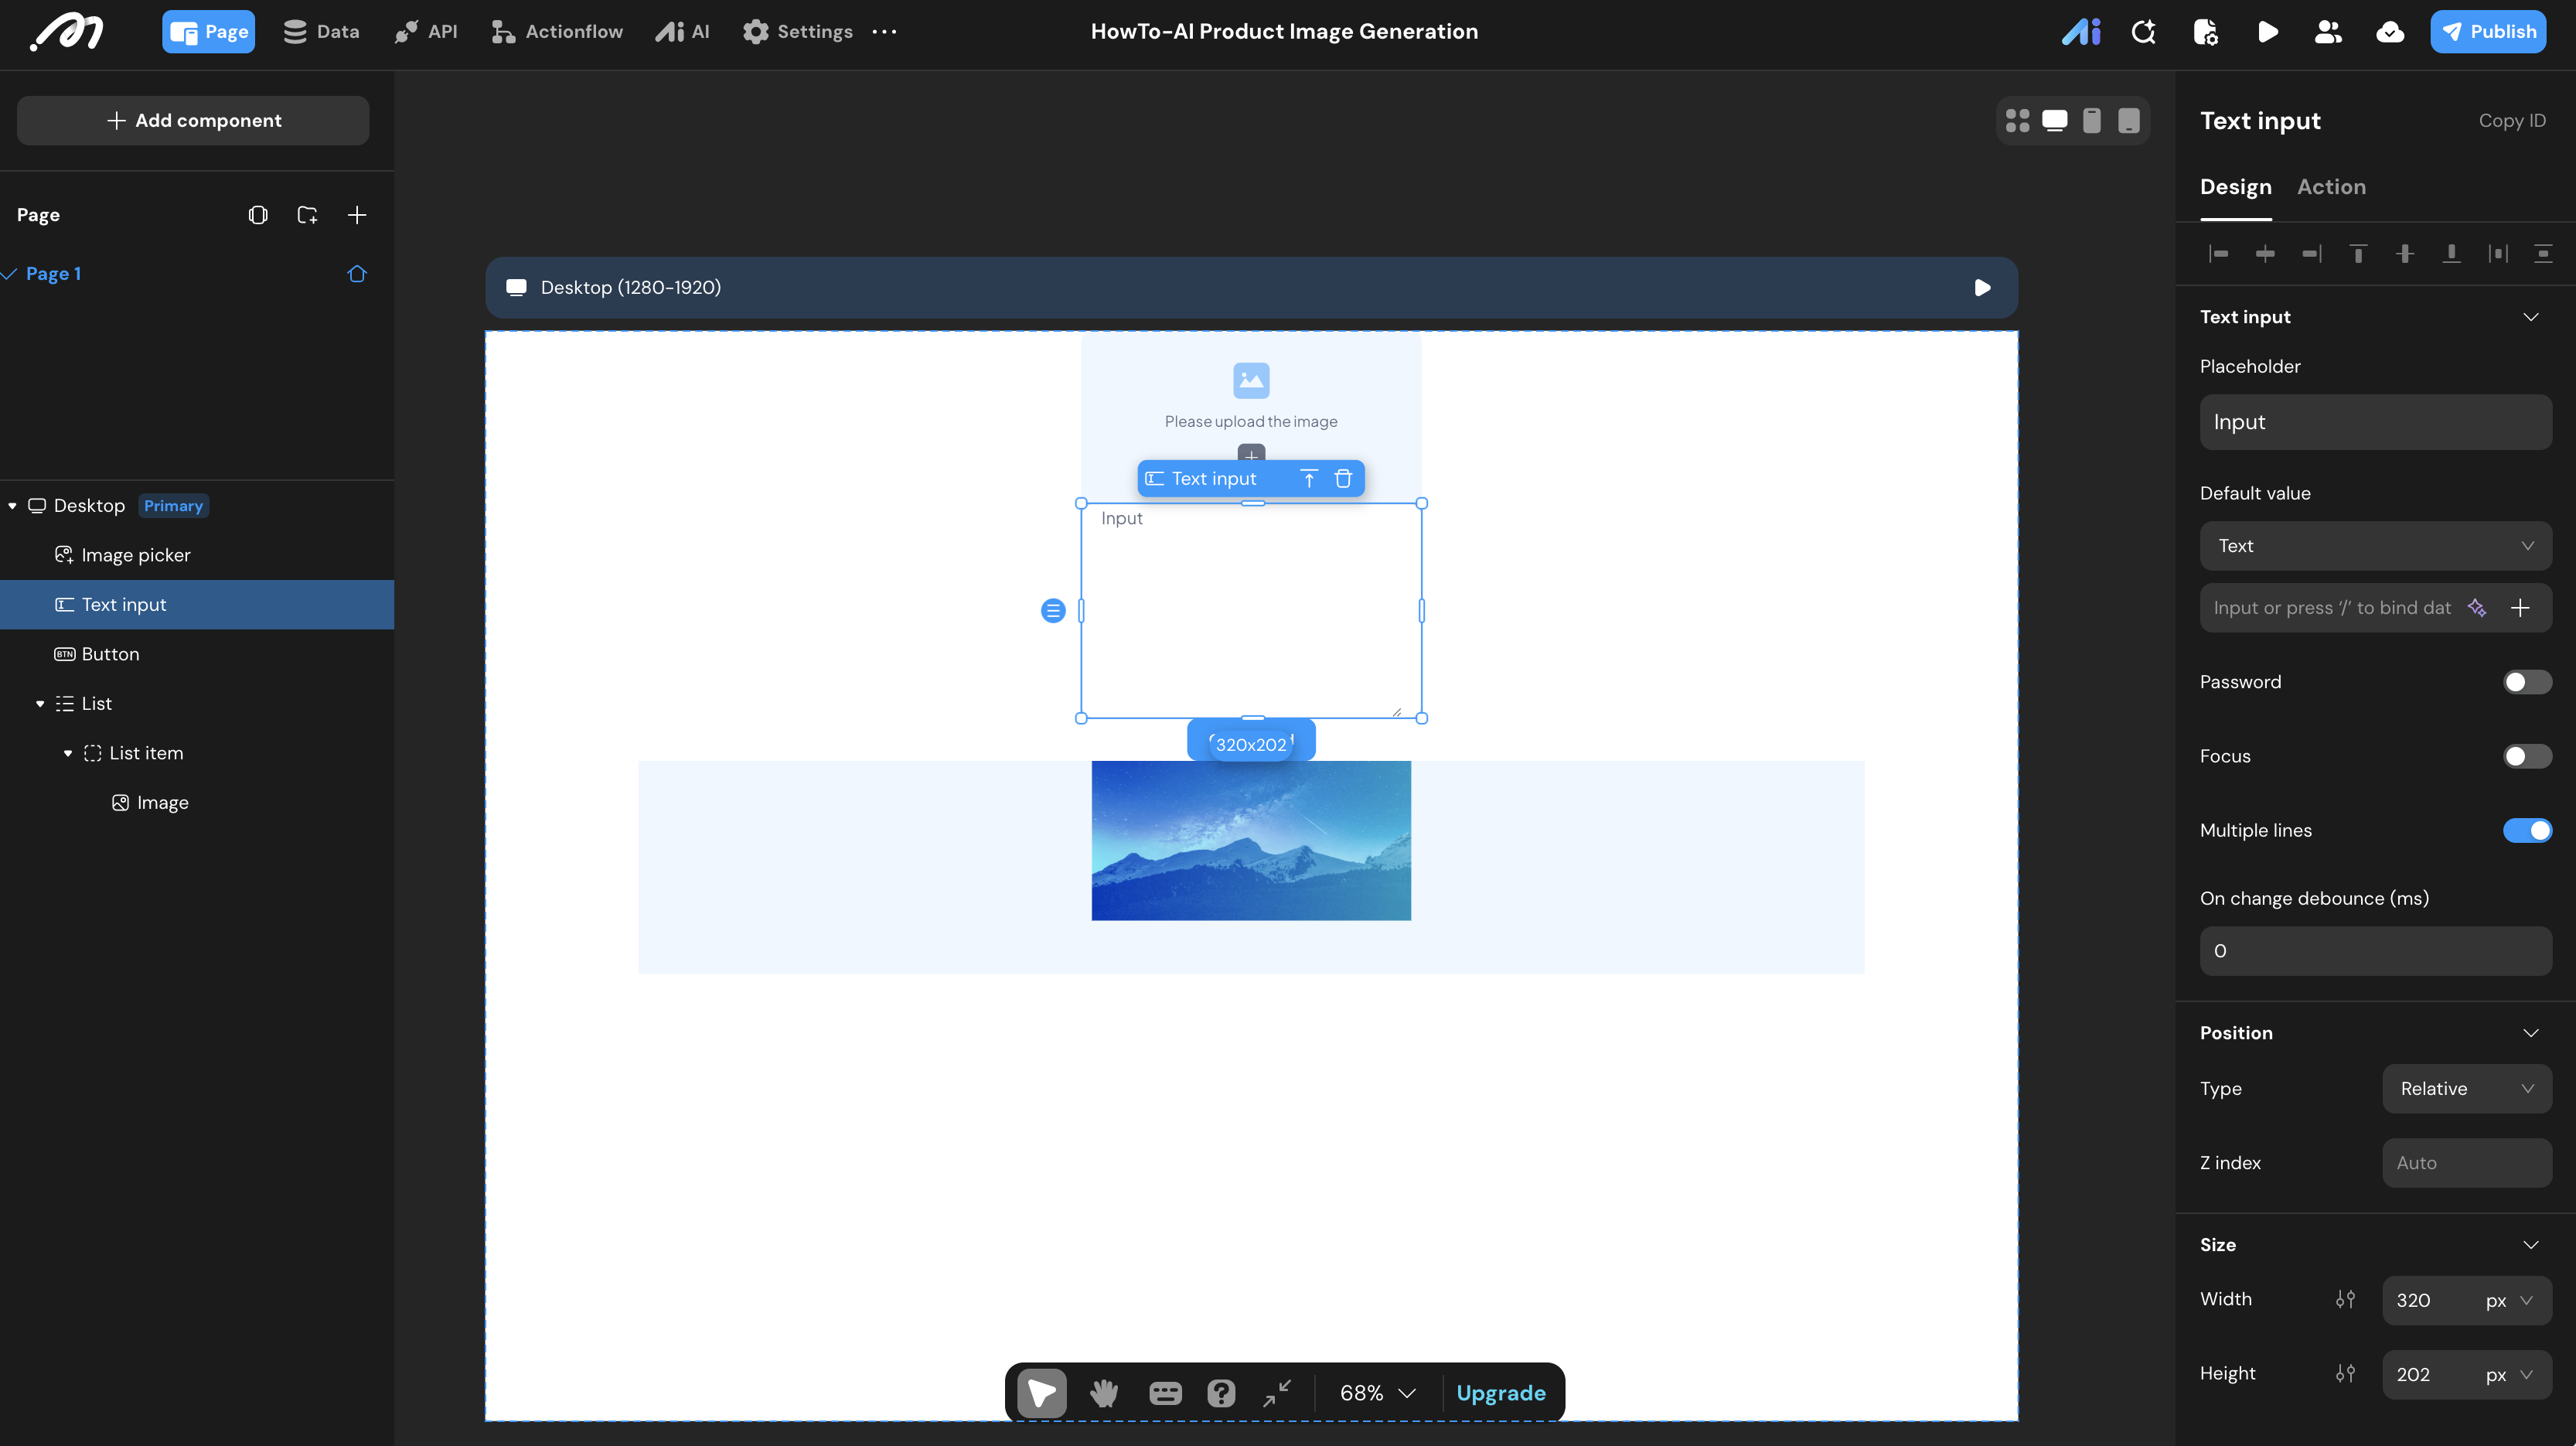
- Inputs: Drag an Image Picker for the product photo and a Text Input for requirements. Enable “Multiple lines” for the text input.
- Trigger: Add a Button.
- Display: Add a List component to show history/results.
Interaction Setup
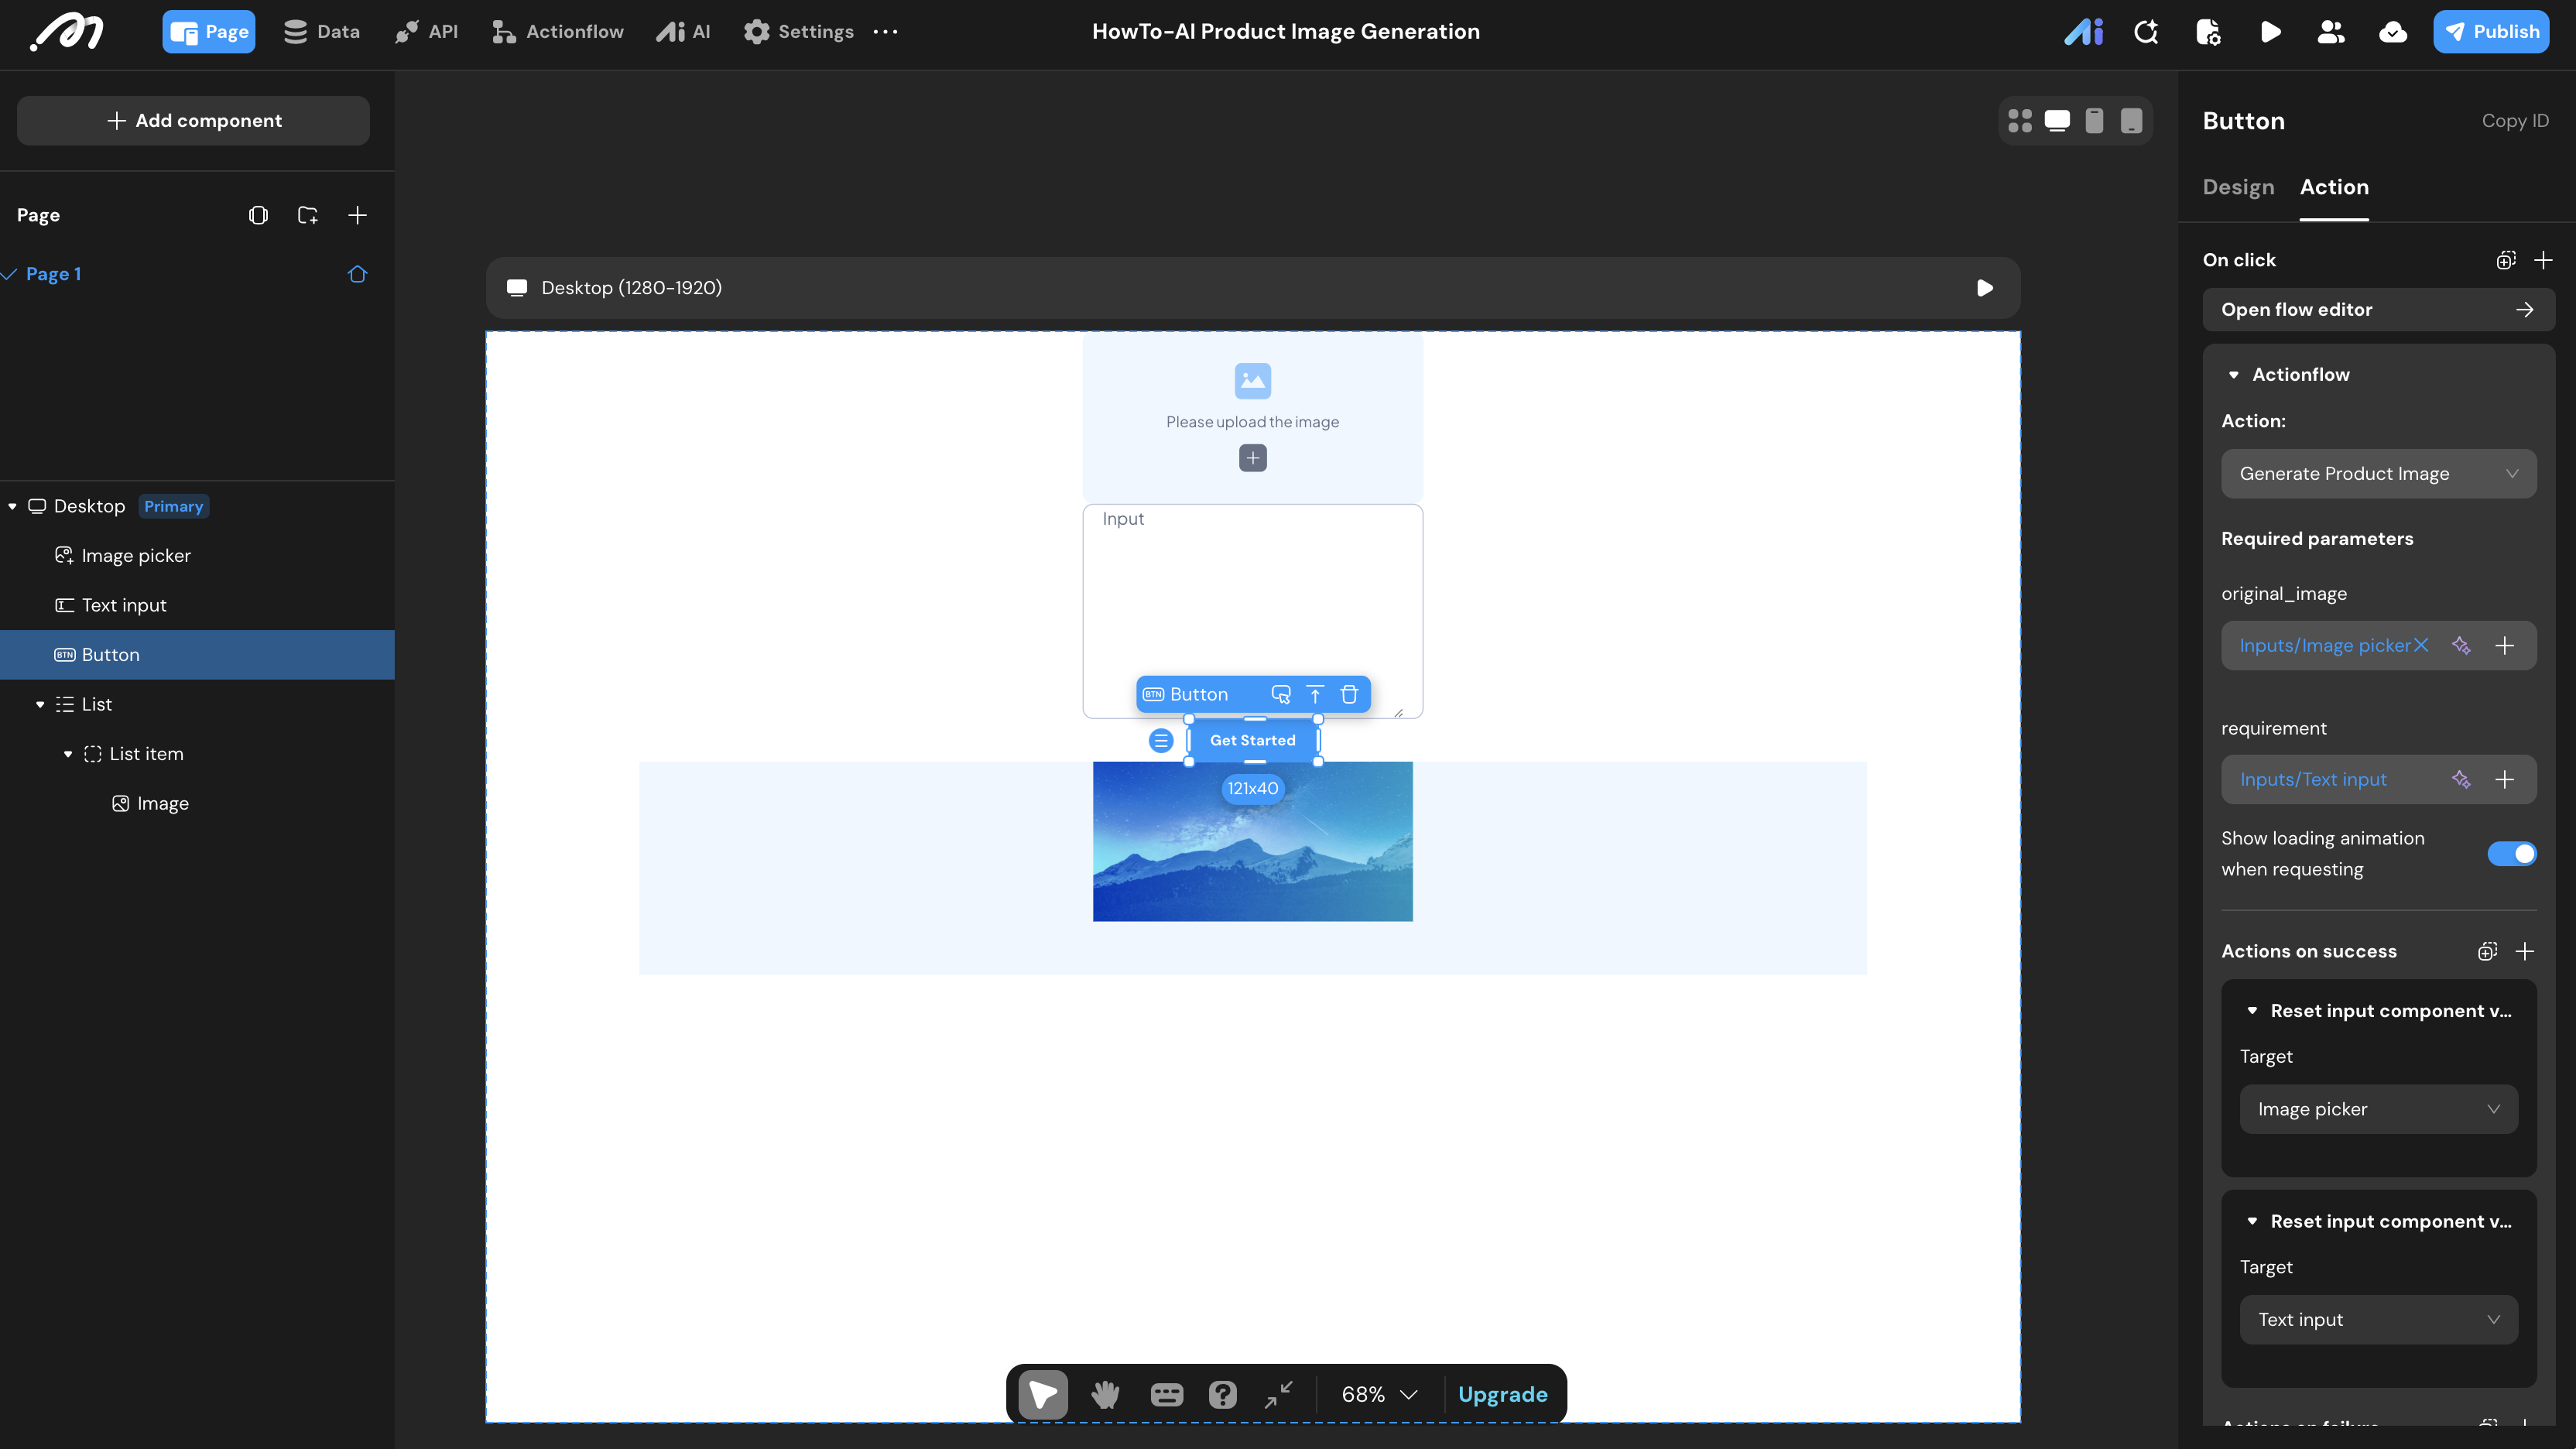
- Button Action:
- Actionflow: Select
Generate Product Image. Bind the components’ values to the flow parameters. - Actions on Success: Add two “Reset input component value” actions to clear the Image Picker and Text Input.
- Actionflow: Select
- List Configuration:
- Data Source: Remote ->
producttable. - Request Type: Subscription. This ensures the generated image appears automatically in the list once the background Actionflow completes.
- Data Source: Remote ->
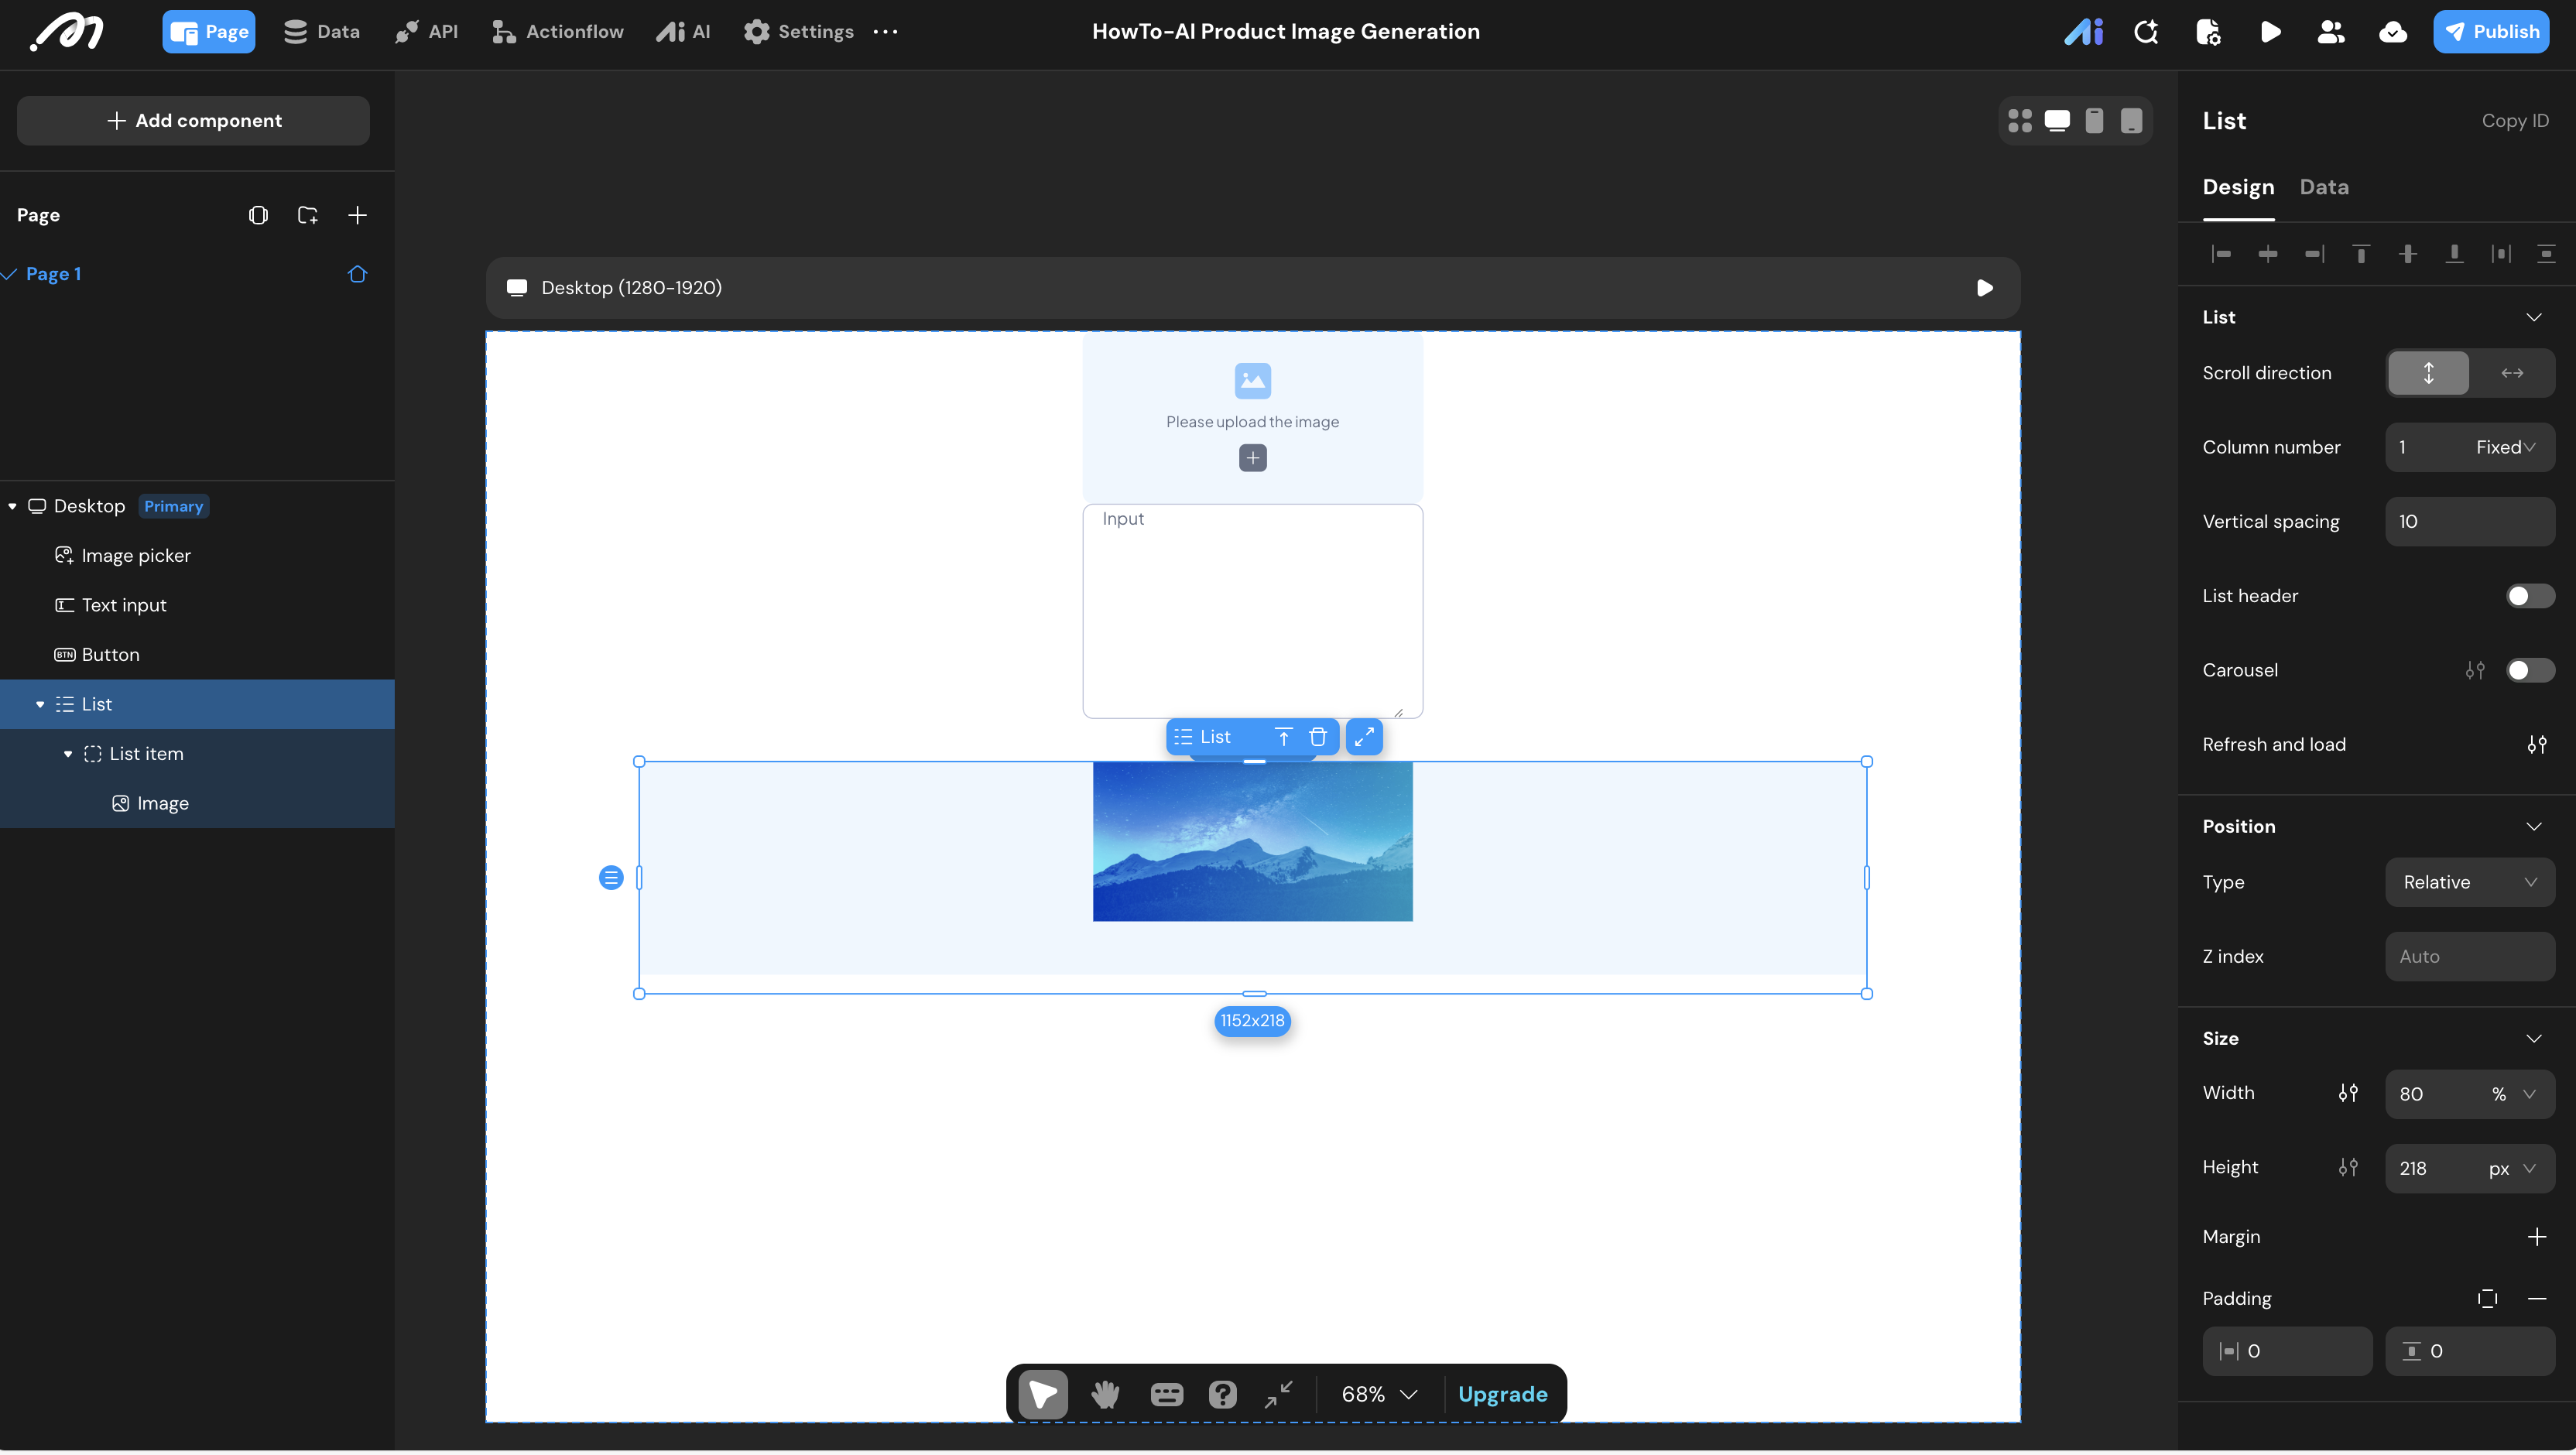
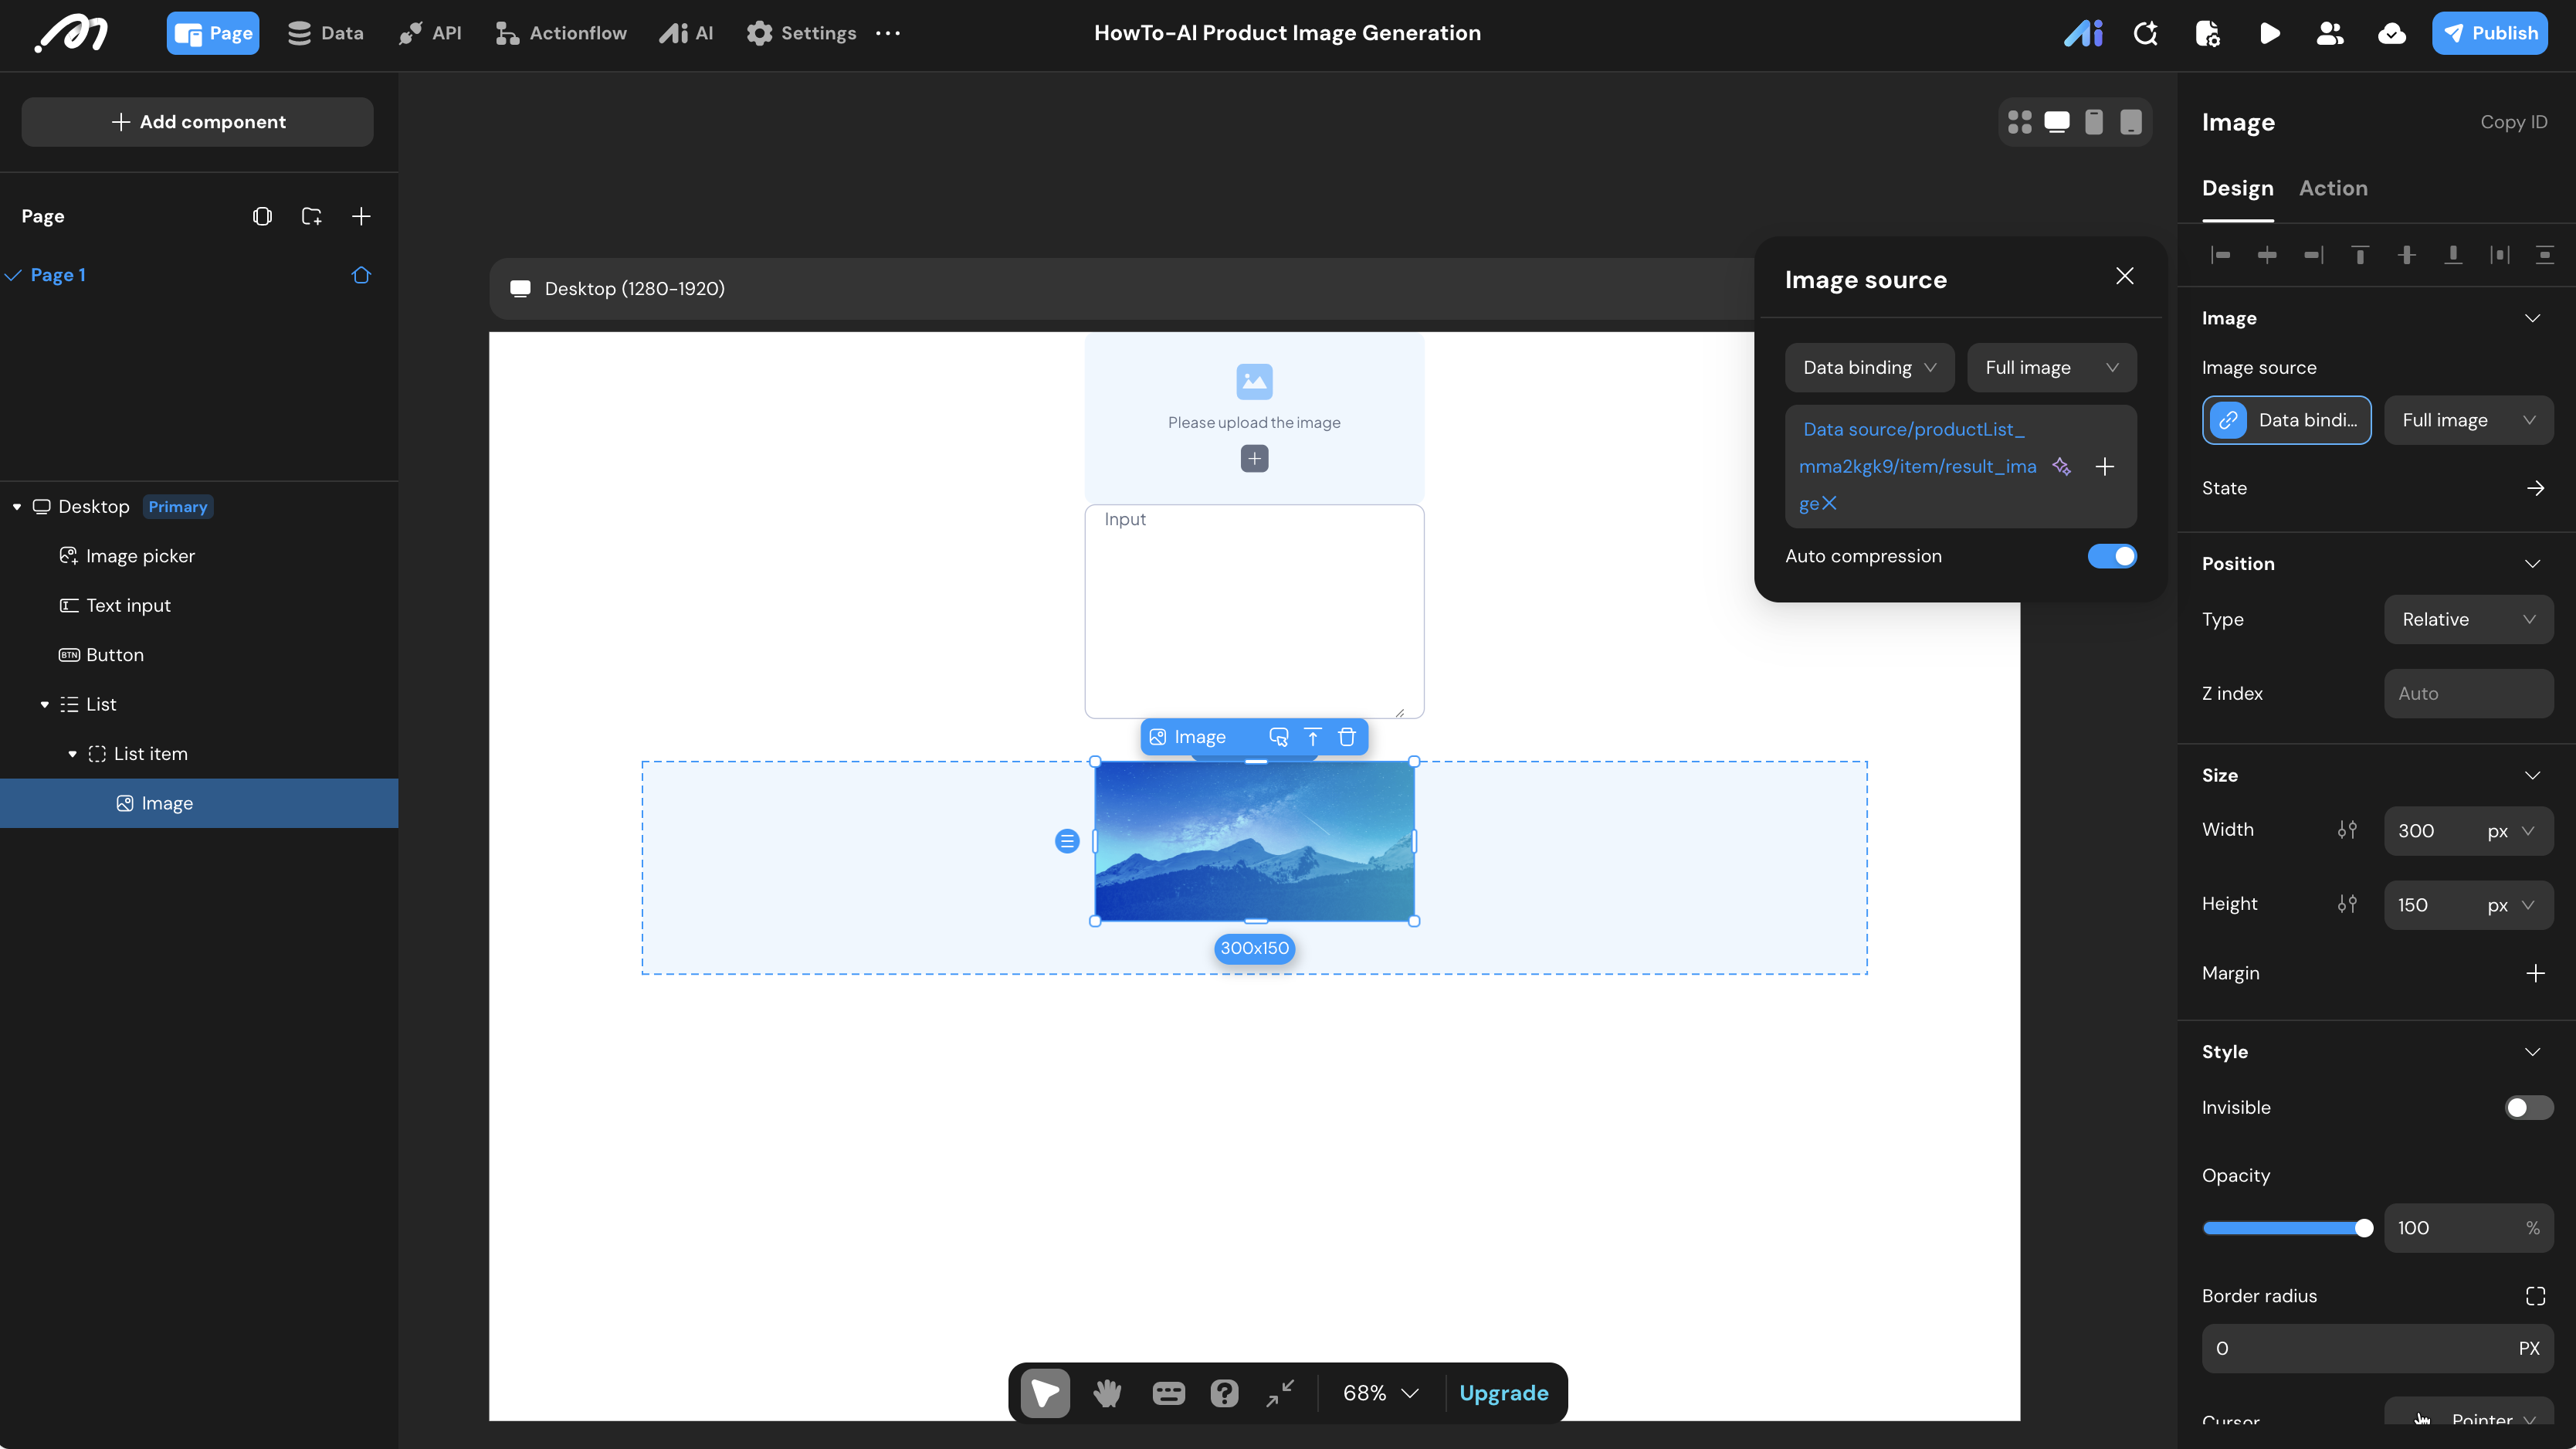
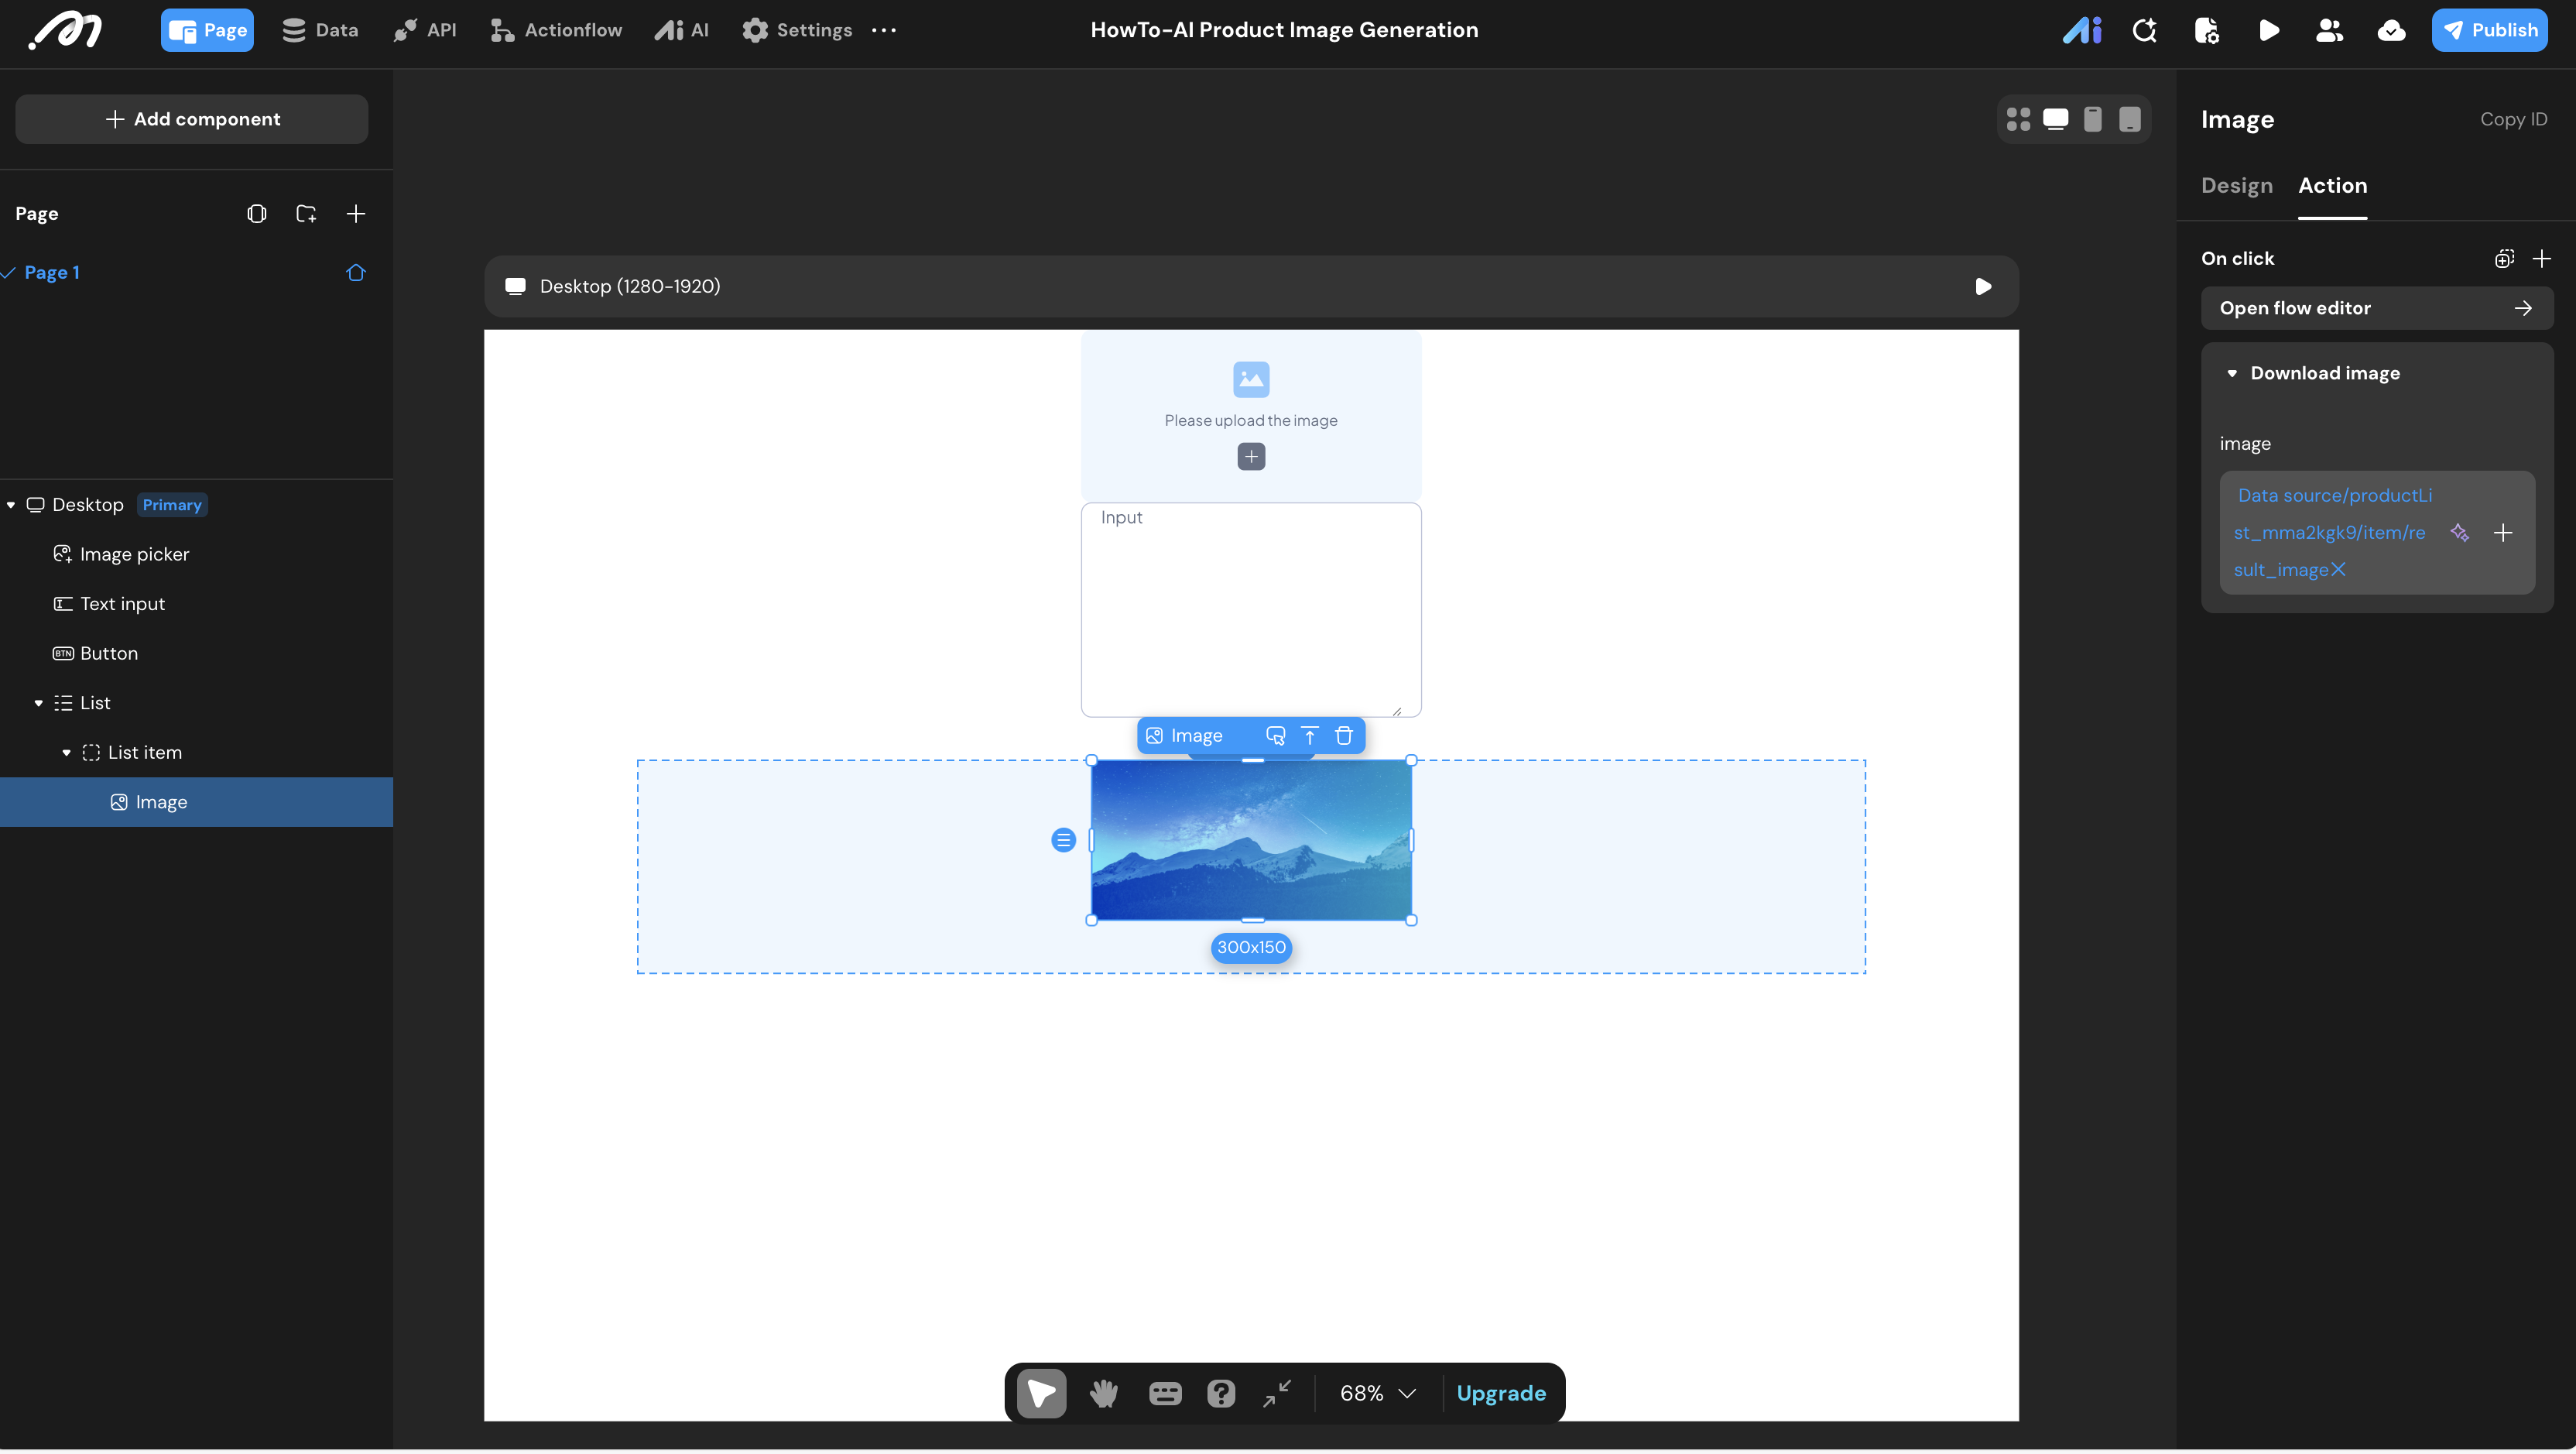
- Result Display & Download:
- Inside the List, add an Image component. Bind its source to
item.result_image. - Click Interaction: Add a “Download Image” action, binding the source to the same
result_imagefield.
- Inside the List, add an Image component. Bind its source to
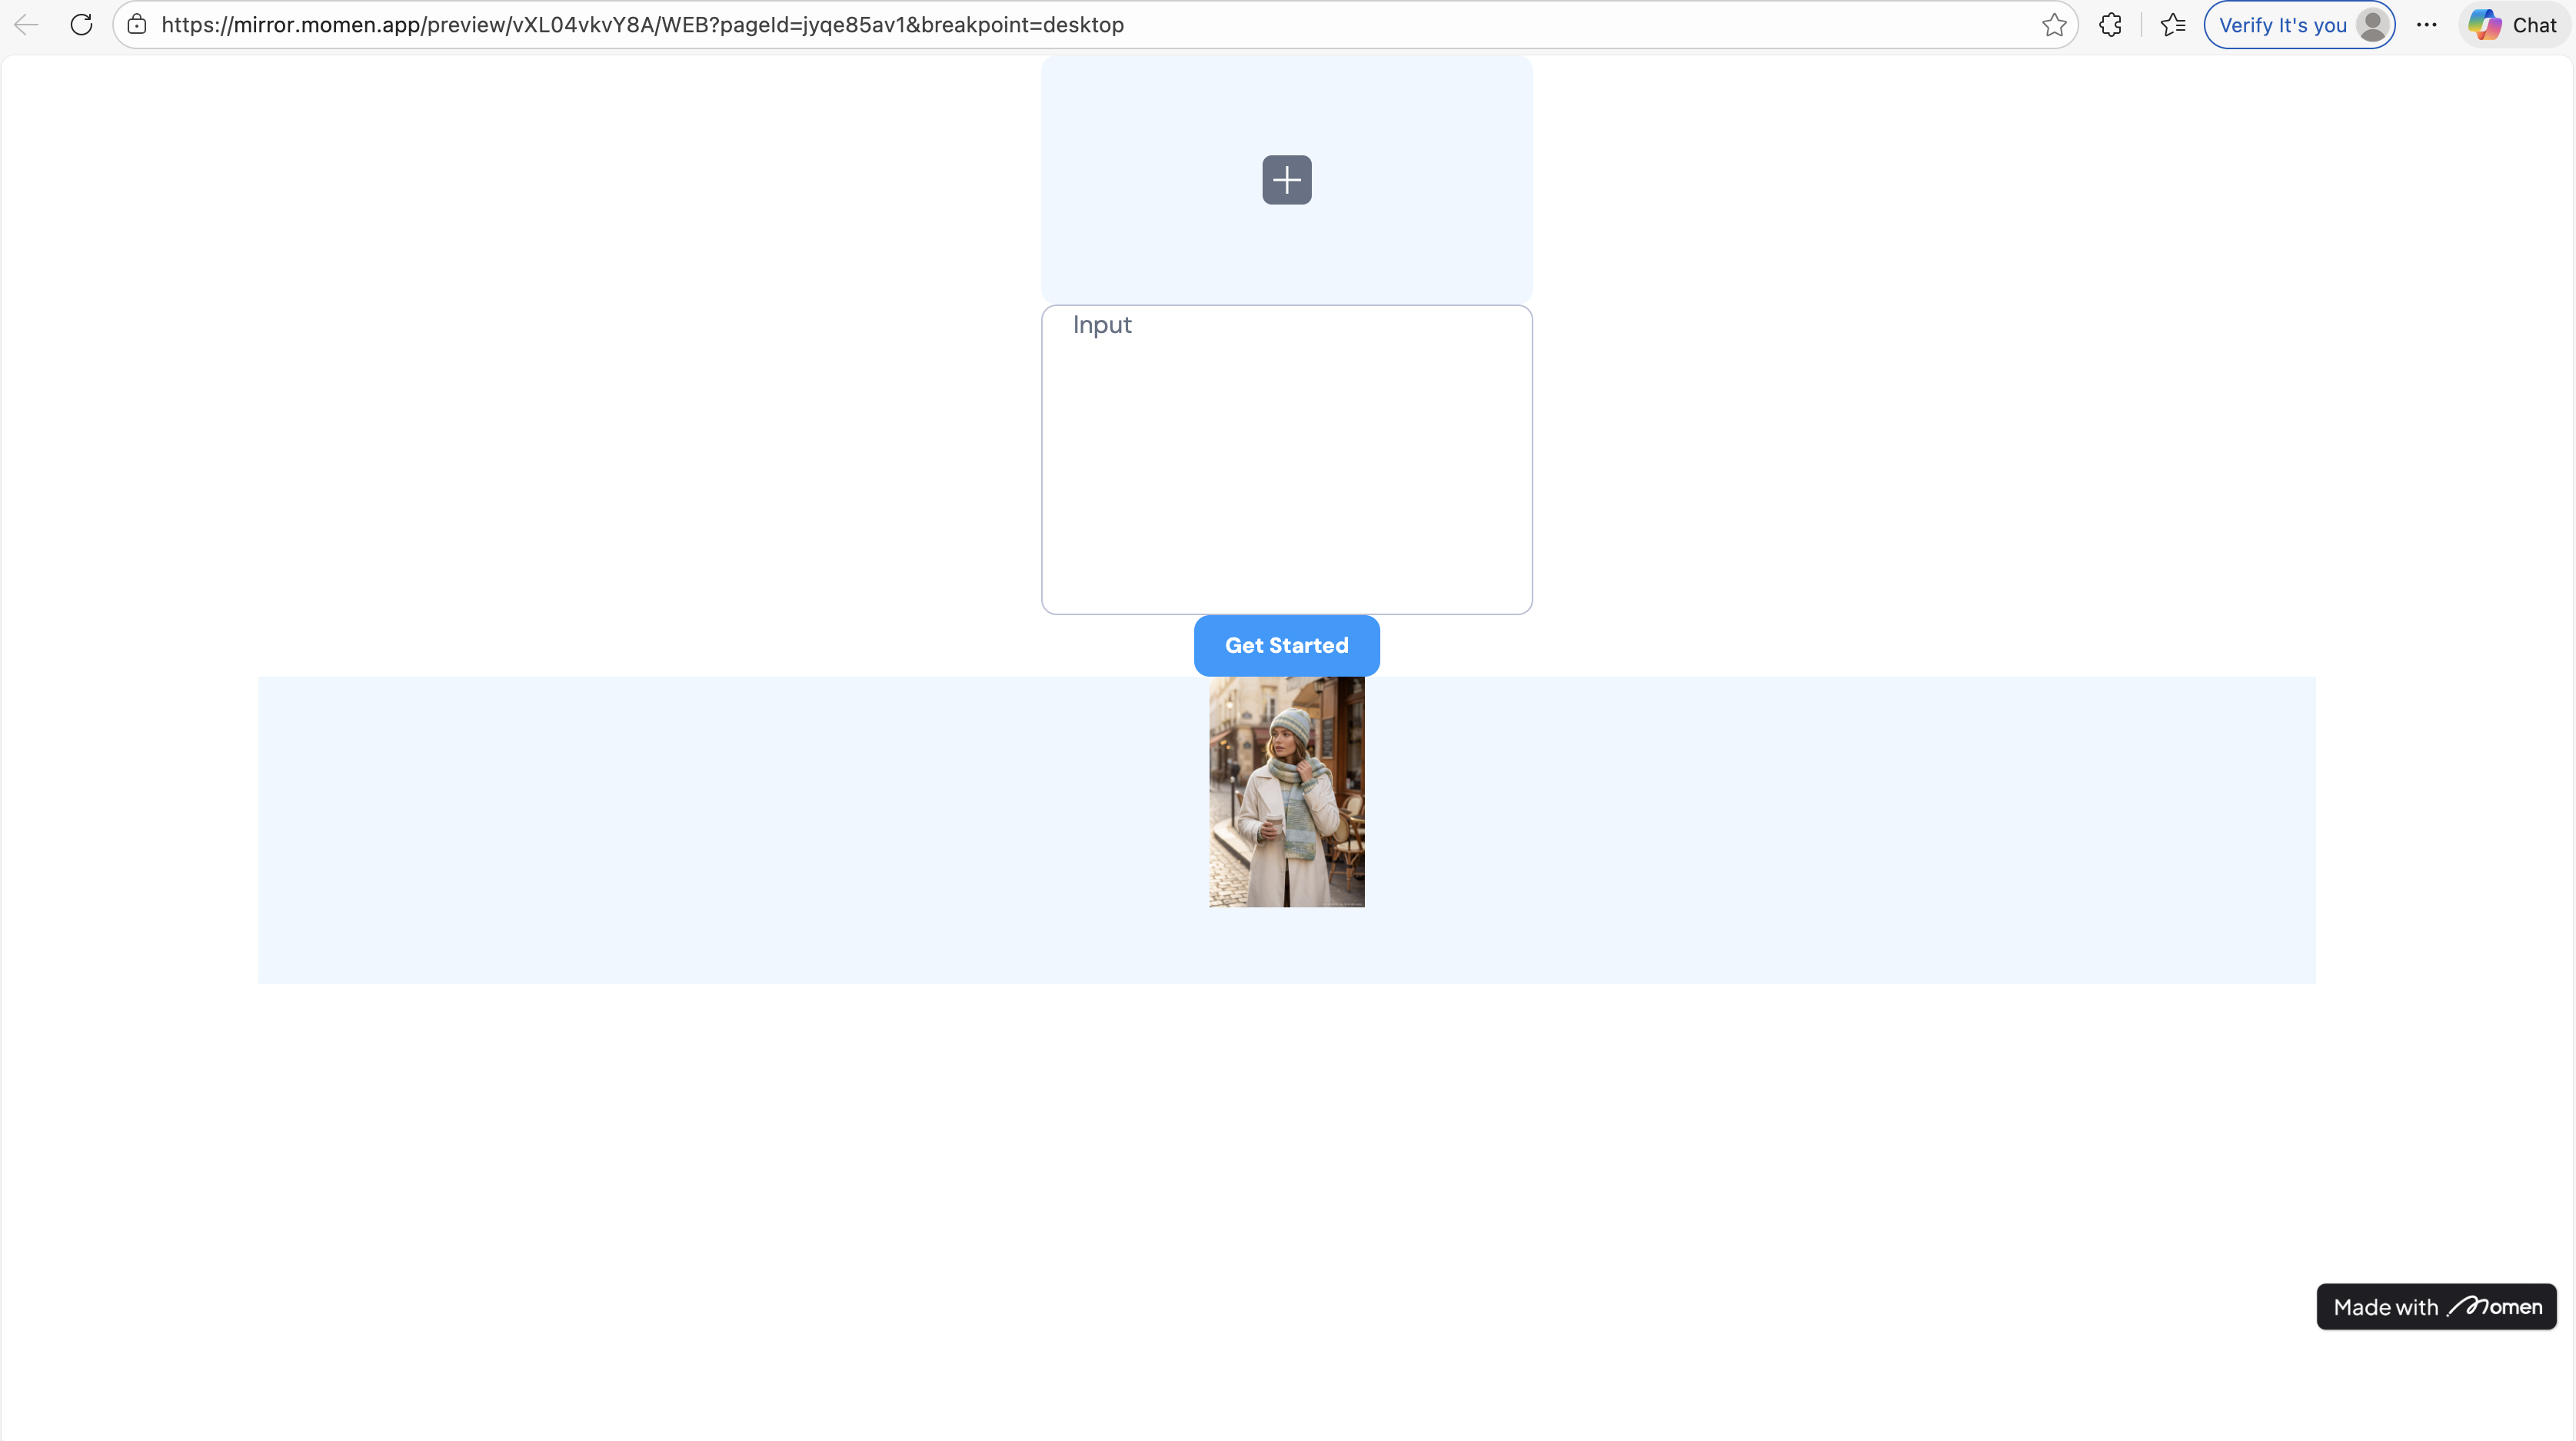
Verification
- Preview: Click the Preview button.
- Test: Upload a product photo and type a descriptive prompt.
- Check: Click “Get Started.” After a few moments, the generated image should automatically pop up in the list below.Click the image to download.
- Database: Verify that the
producttable contains the original image, requirement, and result.
⚠️
If the image is not displayed, please check if the request type of the List component is set to “Subscription”.
Test Case Reference
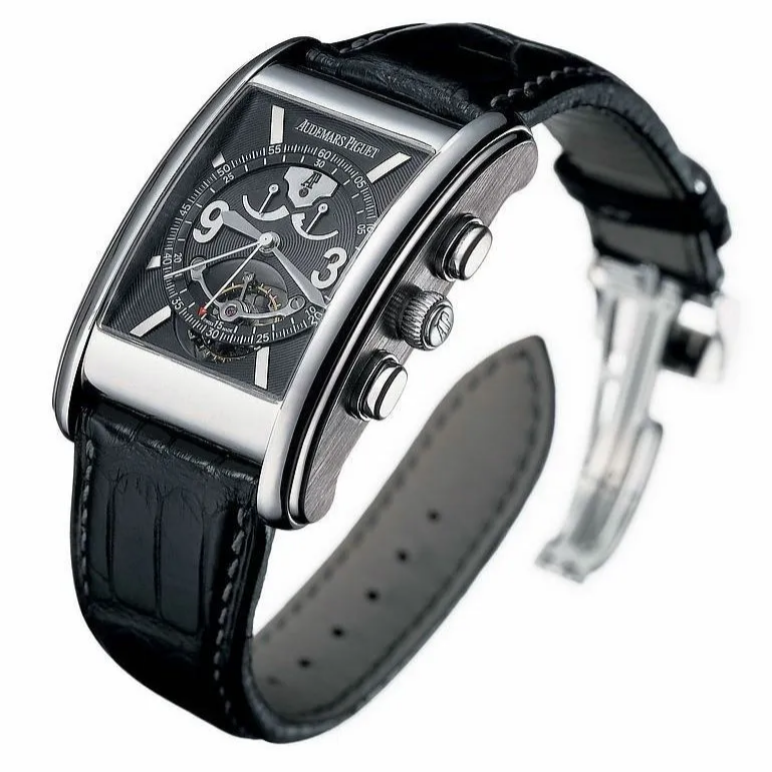
Case 1: High-End Watch 3x3 Grid Showcase
Input Photo & Result Image:
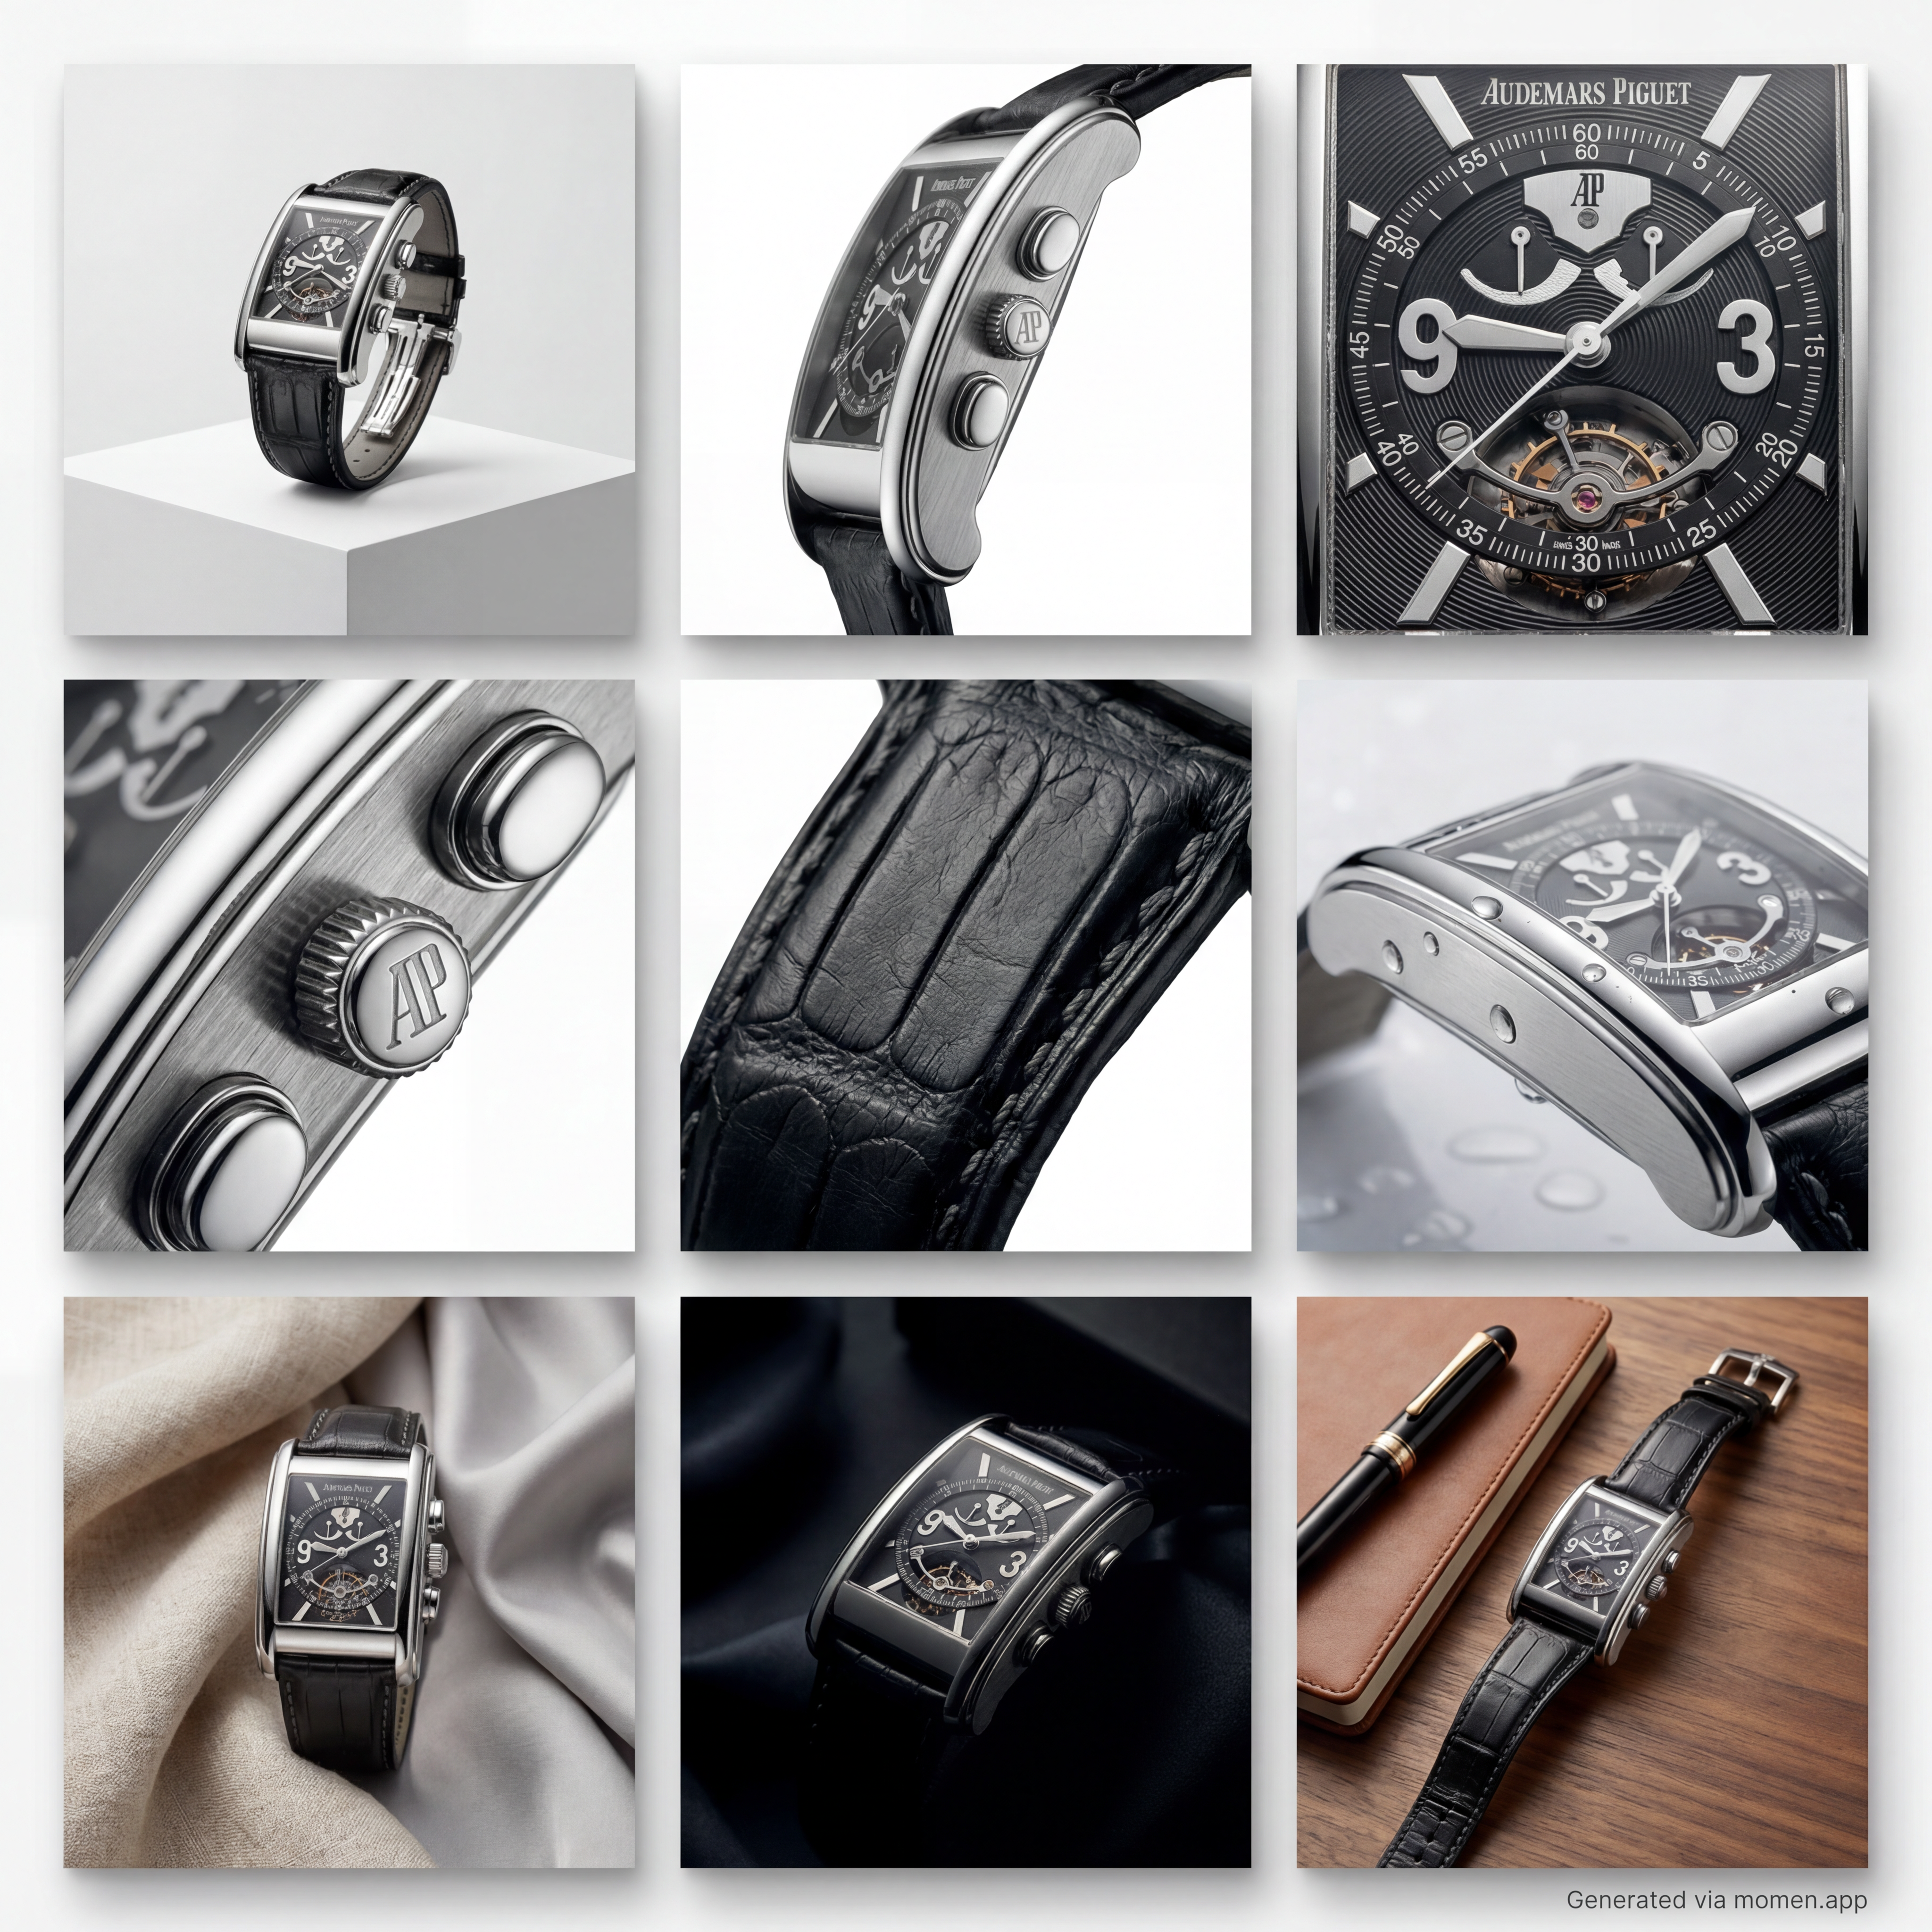
Input Requirement:
Presentation Format: An exquisite 3x3 grid (9 images total) for product photography. Each image is a perfect square, designed for a seamless, cohesive layout.
Visual Quality: Ultra-high resolution, extreme sharpness, flawless studio lighting, and sophisticated white space (negative space).
Aesthetic Style: High-end horology and luxury advertising. Refined, premium color grading with top-tier commercial photography aesthetics.
The 3x3 Grid Specifications
1.Core Masterpiece: An elegant composition of the watch resting on a minimalist pedestal.
2.Structural Perspective: A profile/side view emphasizing the case's silhouette, contours, and proportions.
3.Ultimate Macro: A razor-sharp close-up of the dial, capturing every minute detail and index.
4.Signature Features: A detailed shot of the crown, pushers, or other iconic design elements.
5.Tactile Texture: A macro study of the strap material (e.g., fine leather grain or brushed metal finishing).
6.Elemental Interaction: The timepiece interacting subtly with natural elements .
7.Soft Backdrop: The watch set against a background of delicate linen or flowing silk fabric.
8.Moody Atmosphere: Dramatic, low-key lighting with high contrast to evoke mystery and depth.
9.Editorial Layout: A sophisticated, lifestyle-inspired composition suitable for a high-end magazine spread.
Case 2:On-Location Lifestyle Shot (Knitwear)
Input Photo & Result Image:
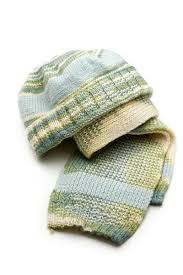
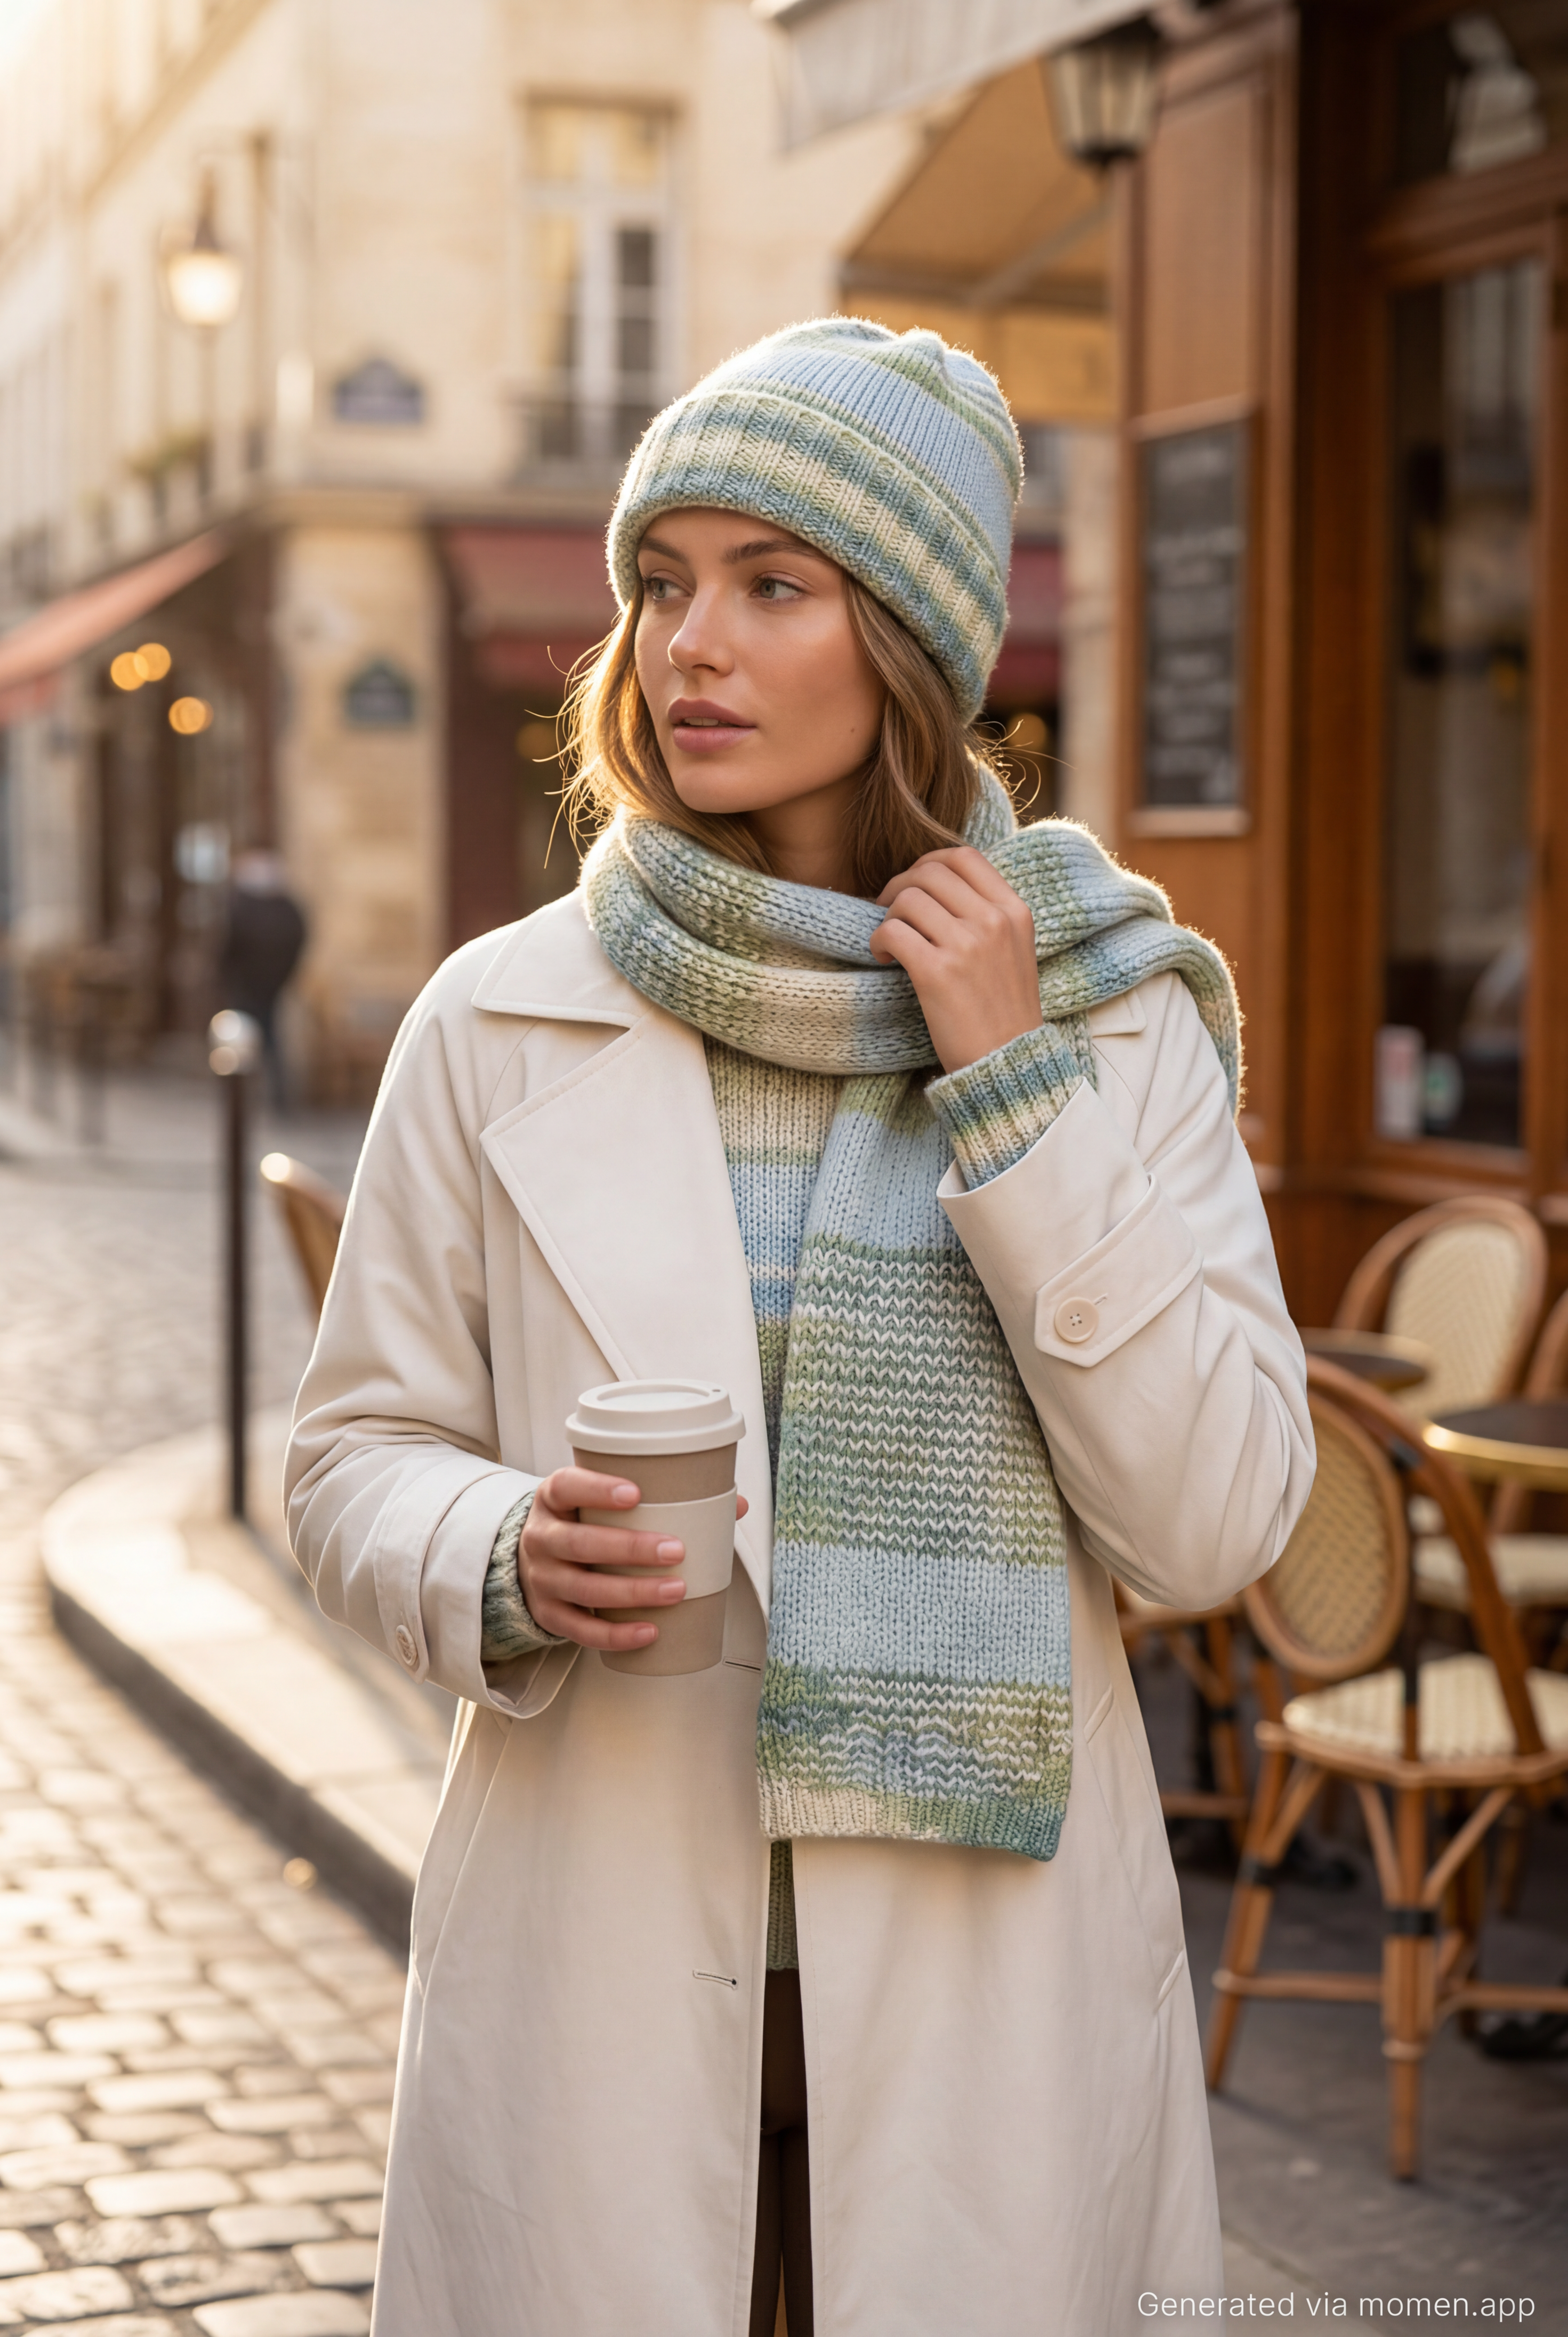
Input Requirement:
* Target Model: 25-year-old female, glowing natural skin, effortless beauty.
* Outfit & Pose: Walking casually holding a coffee cup, or adjusting the scarf while looking away. Natural candid lifestyle shot.
* Matching Clothing: Wearing a stylish, minimalist off-white, cream, or light camel matte trench coat. The coat must be smooth and non-textured (absolutely no knit or wool material) to perfectly highlight the texture of the knitwear.
* Scene & Lighting: Background is a classic European street corner or a chic New York cafe exterior. Soft morning sunlight (golden hour lighting) creating beautiful rim light on the scarf.
* Image Requirements: Cinematic lifestyle photography, shallow depth of field (blurred background), Pinterest aesthetic, vibrant but natural colors.
Last updated on