Editor Overview
The Momen Editor is divided into a navigation bar, functional core area, and additional sections such as the left sidebar, right sidebar, and toolbar when a page in the navigation bar is selected. The left sidebar is used for adding and managing pages and components, while the right sidebar is for detailed page and component configuration. Click the provided links for more detailed information.
Navigation Bar: Feature Access and Project Management

The navigation bar allows you to switch between canvas contents, access various functional panels, and open general project settings. Below is a detailed introduction to its components:
Return to Personal Center
Click the “Momen” logo in the top-left corner to return to your personal center.
Feature Access
When you enter the editor, the “Page” tab is selected by default. Click other tabs to access different configuration panels.
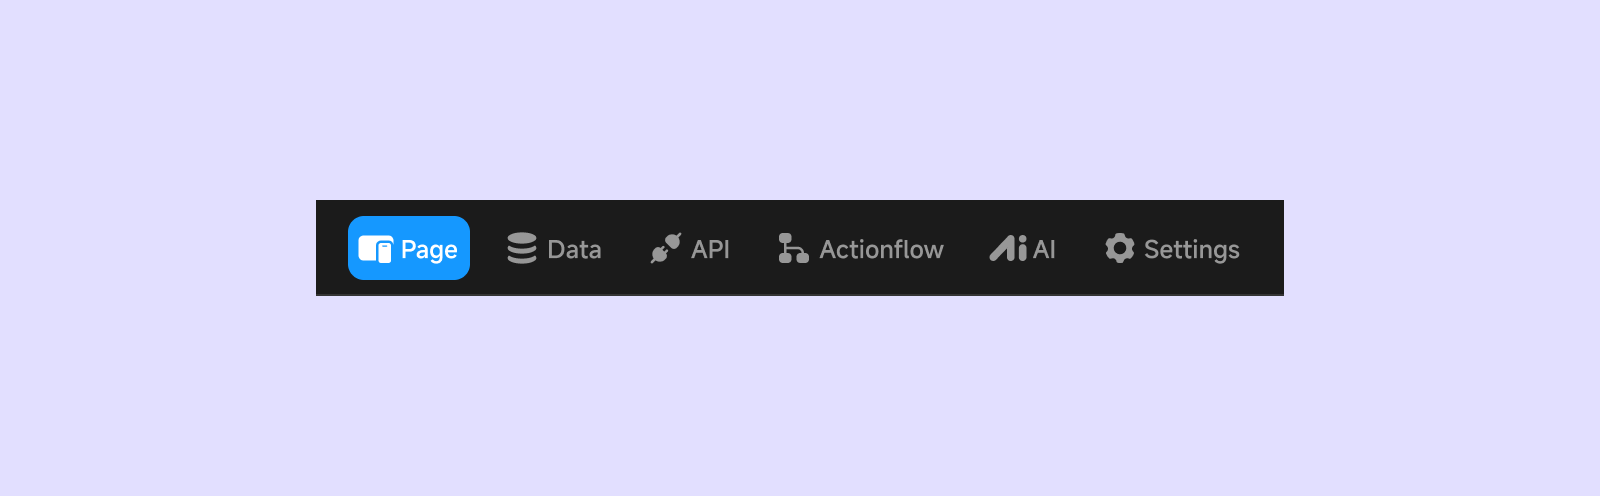
You can click the link below to view the detailed introduction of the corresponding function:
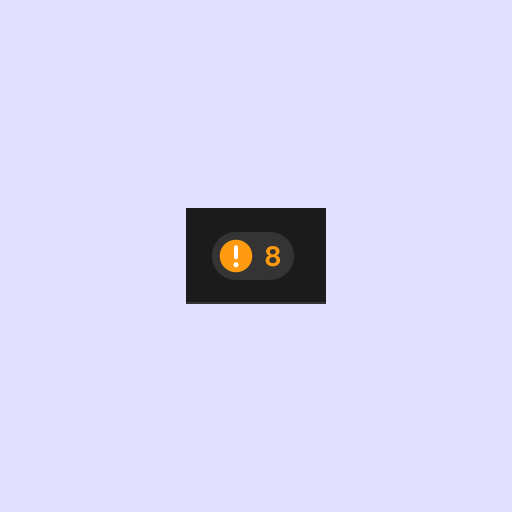
Error Notifications
If configuration errors occur during editing, the navigation bar displays an error notification. Click it to see detailed error information at the bottom of the editor:
- Location: View the path to the error.
- Error Message: Description of the issue.
- Fix: Click to navigate directly to the error location.
| Error notification in navigation bar | Error details panel |
|---|---|
 |  |
Search
To quickly search for content in the project. Currently supported: components, pages, actions, and data requests. The main use case is to quickly locate content in the editor when debugging.
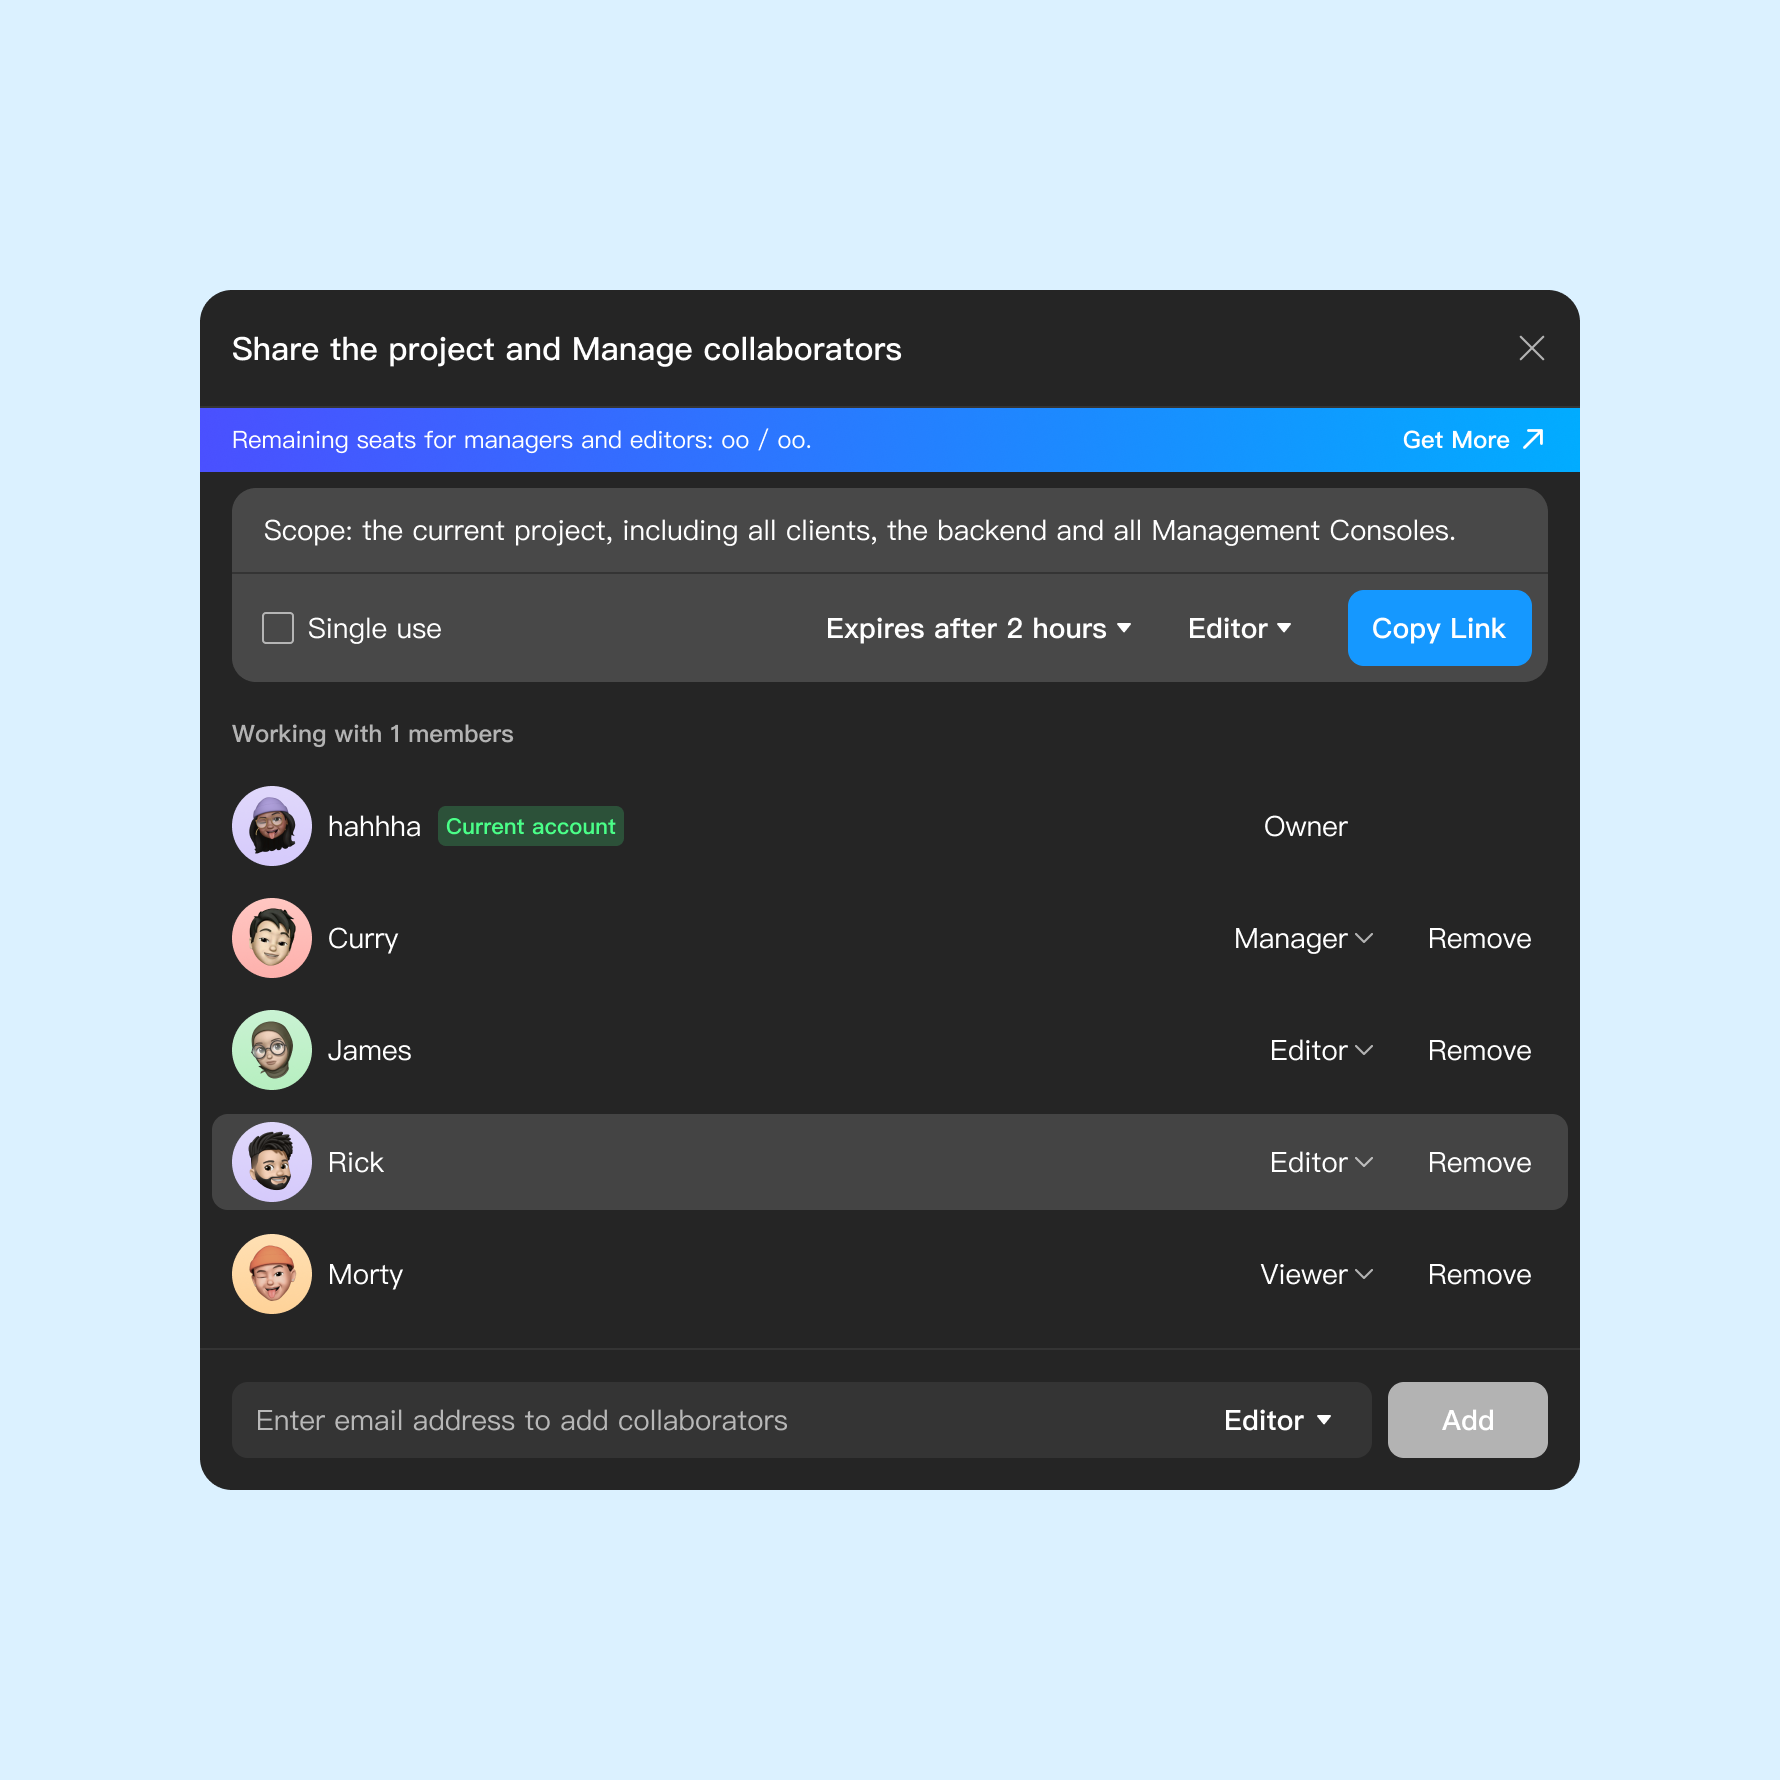
Sharing and Permissions
To share your project or view collaborators, click the “Sharing and Permissions” icon in the navigation bar. Note that sharing and collaboration features are available only in the Premium version or higher.
Roles and Permissions: 1. Owner: Full project permissions, including creation. 2. Manager: Can edit, manage collaborators, and clone the project. 3. Editor: Can edit project content. 4. Viewer: Read-only access to the project.
| Sharing and permissions icon | Sharing and permissions details |
|---|---|
 |  |
Mirror
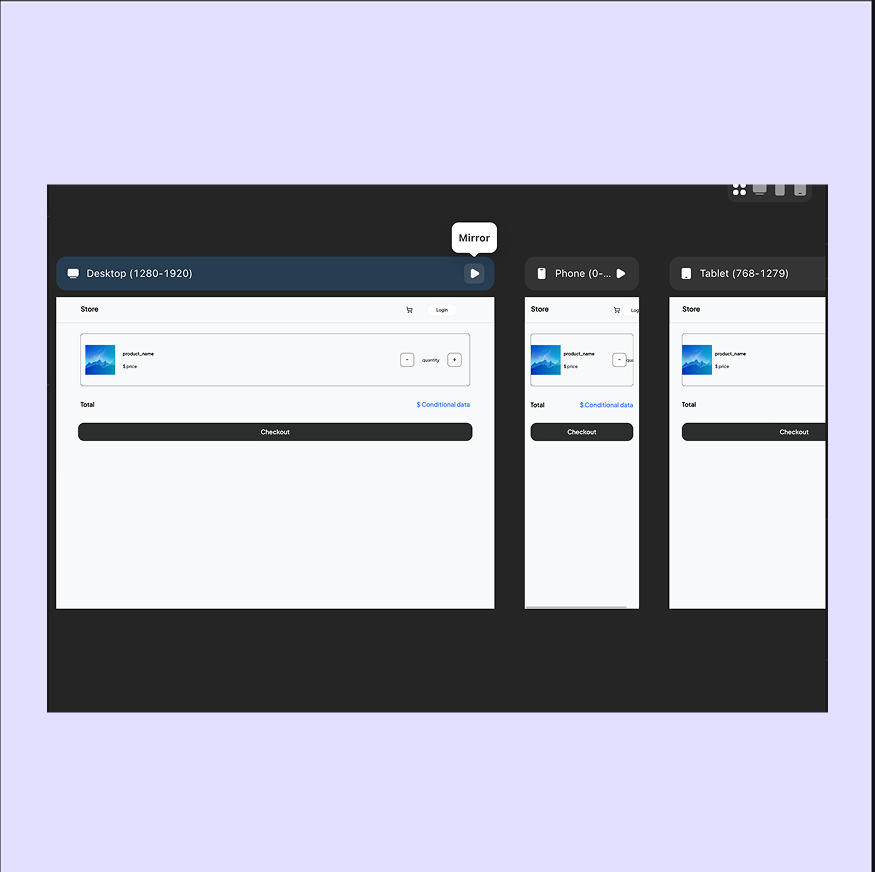
Click the Mirror icon on the top of the page to quickly preview your project during editing.
| Mirror Preview Icon | Mirror Preview Window |
|---|---|
 |  |
Sync Backend
After modifying data models, APIs, workflows, or ZAI, click the Sync Backend button in the upper-right corner to apply changes immediately. For live projects, backend updates are sufficient if only backend configurations are modified.

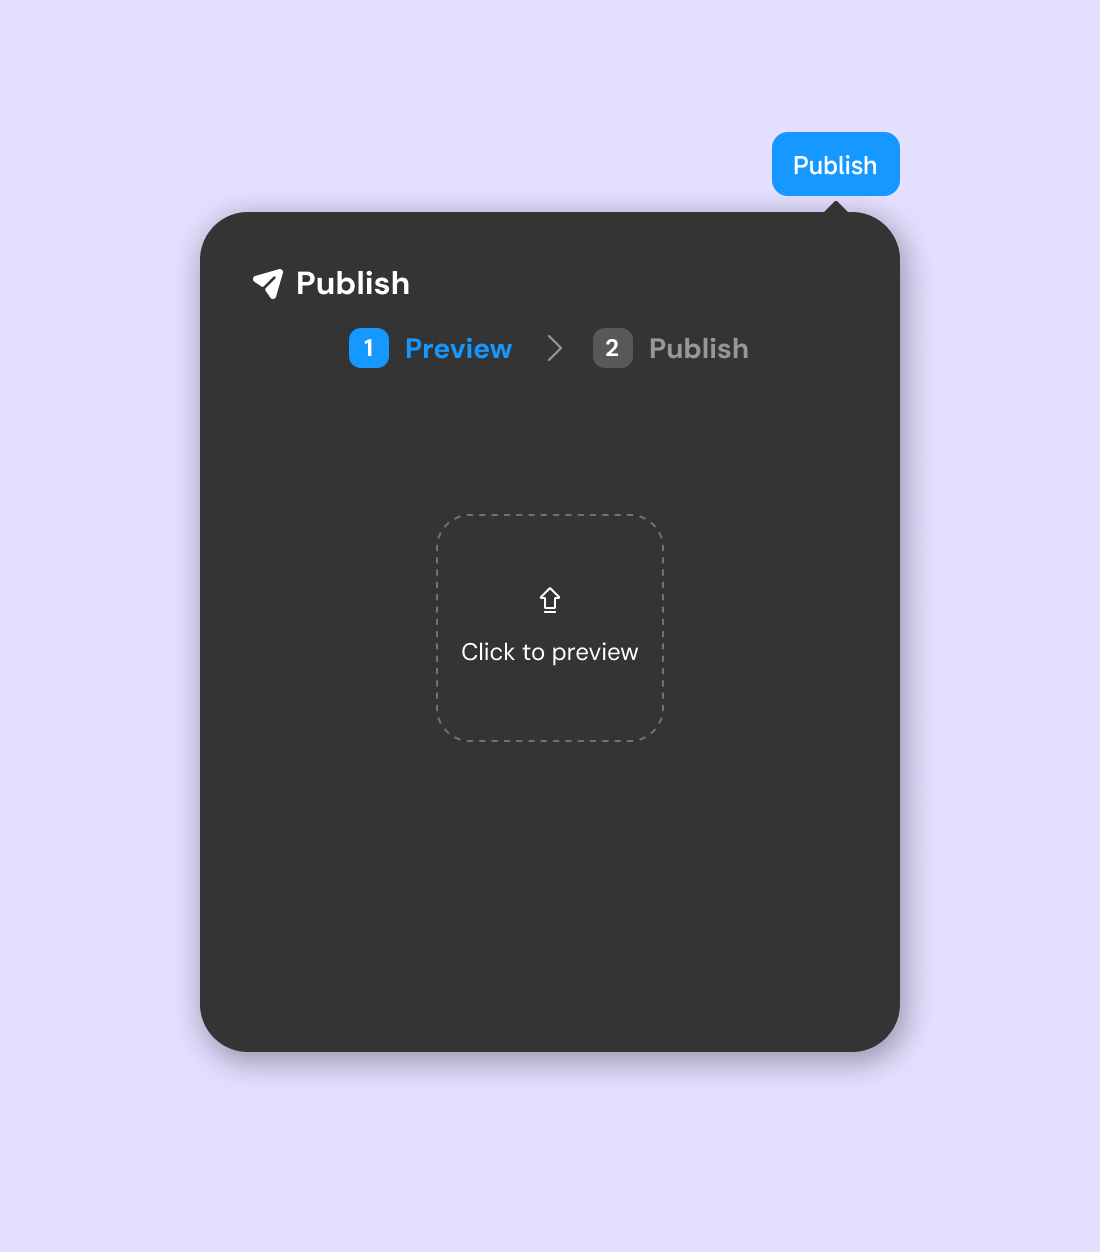
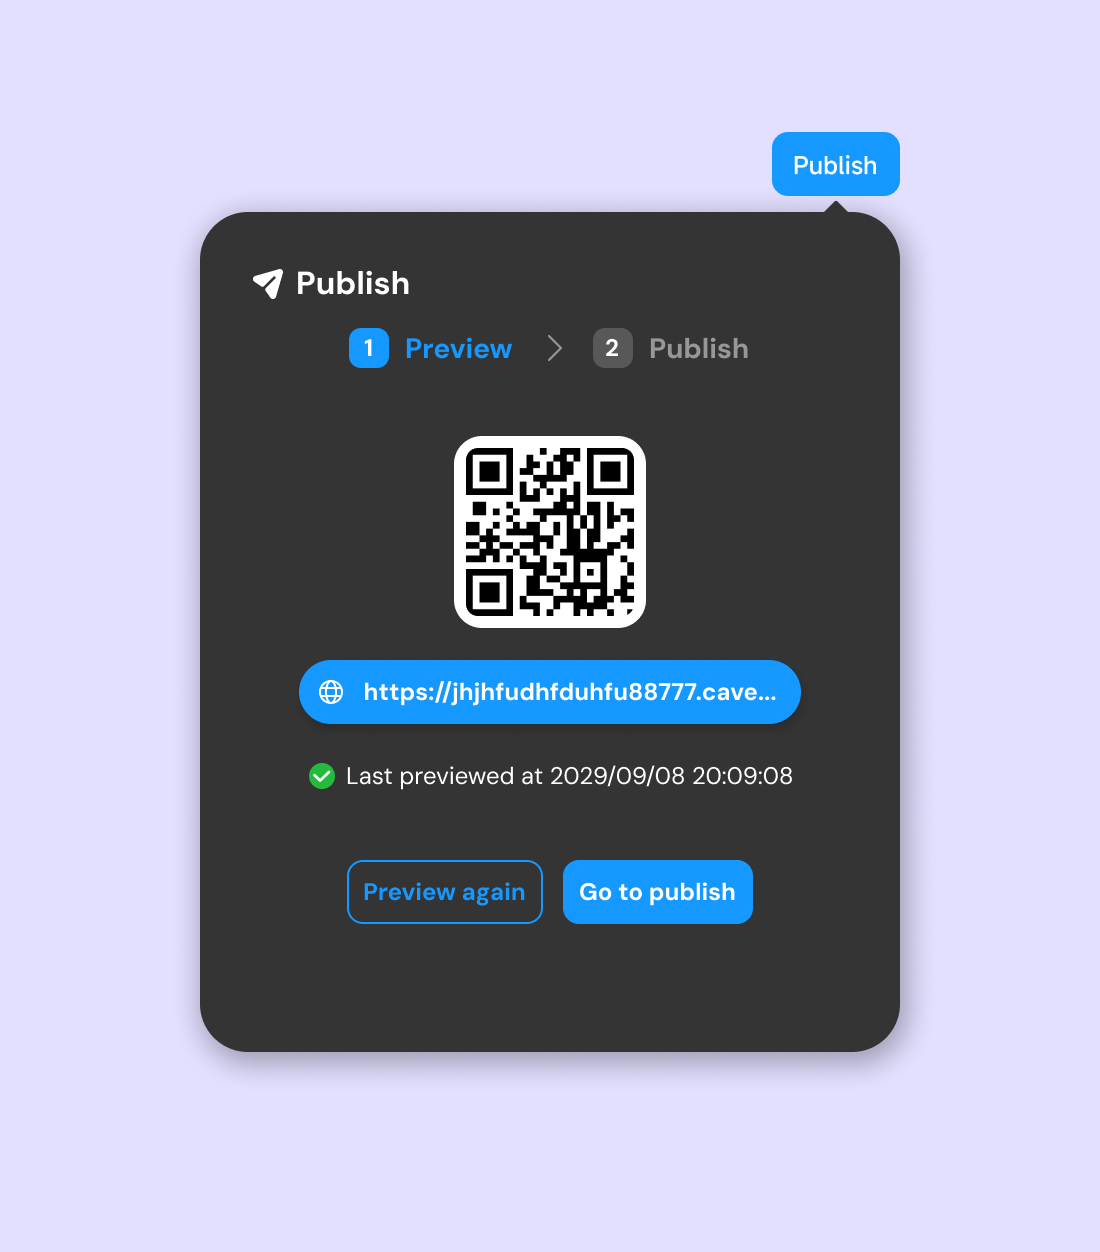
Project Publishing
Once your web application is complete, deploy it by clicking the Publish button. Before publishing: 1. Preview the latest version to generate a QR code and link for testing. 2. After confirming the app works as expected, click Publish to deploy.
| Publish preview button | Publish successful confirmation |
|---|---|
 |  |
Toolbar: Editing Actions and Resources

The toolbar includes essential tools for editing and useful resources. Below are its features:
Canvas Selection and Movement
The canvas defaults to Edit Mode (shortcut: V), allowing element selection and editing. Switch to Move Mode (shortcut: H) to drag the canvas without selecting elements. For temporary movement, hold Spacebar and drag with the mouse.

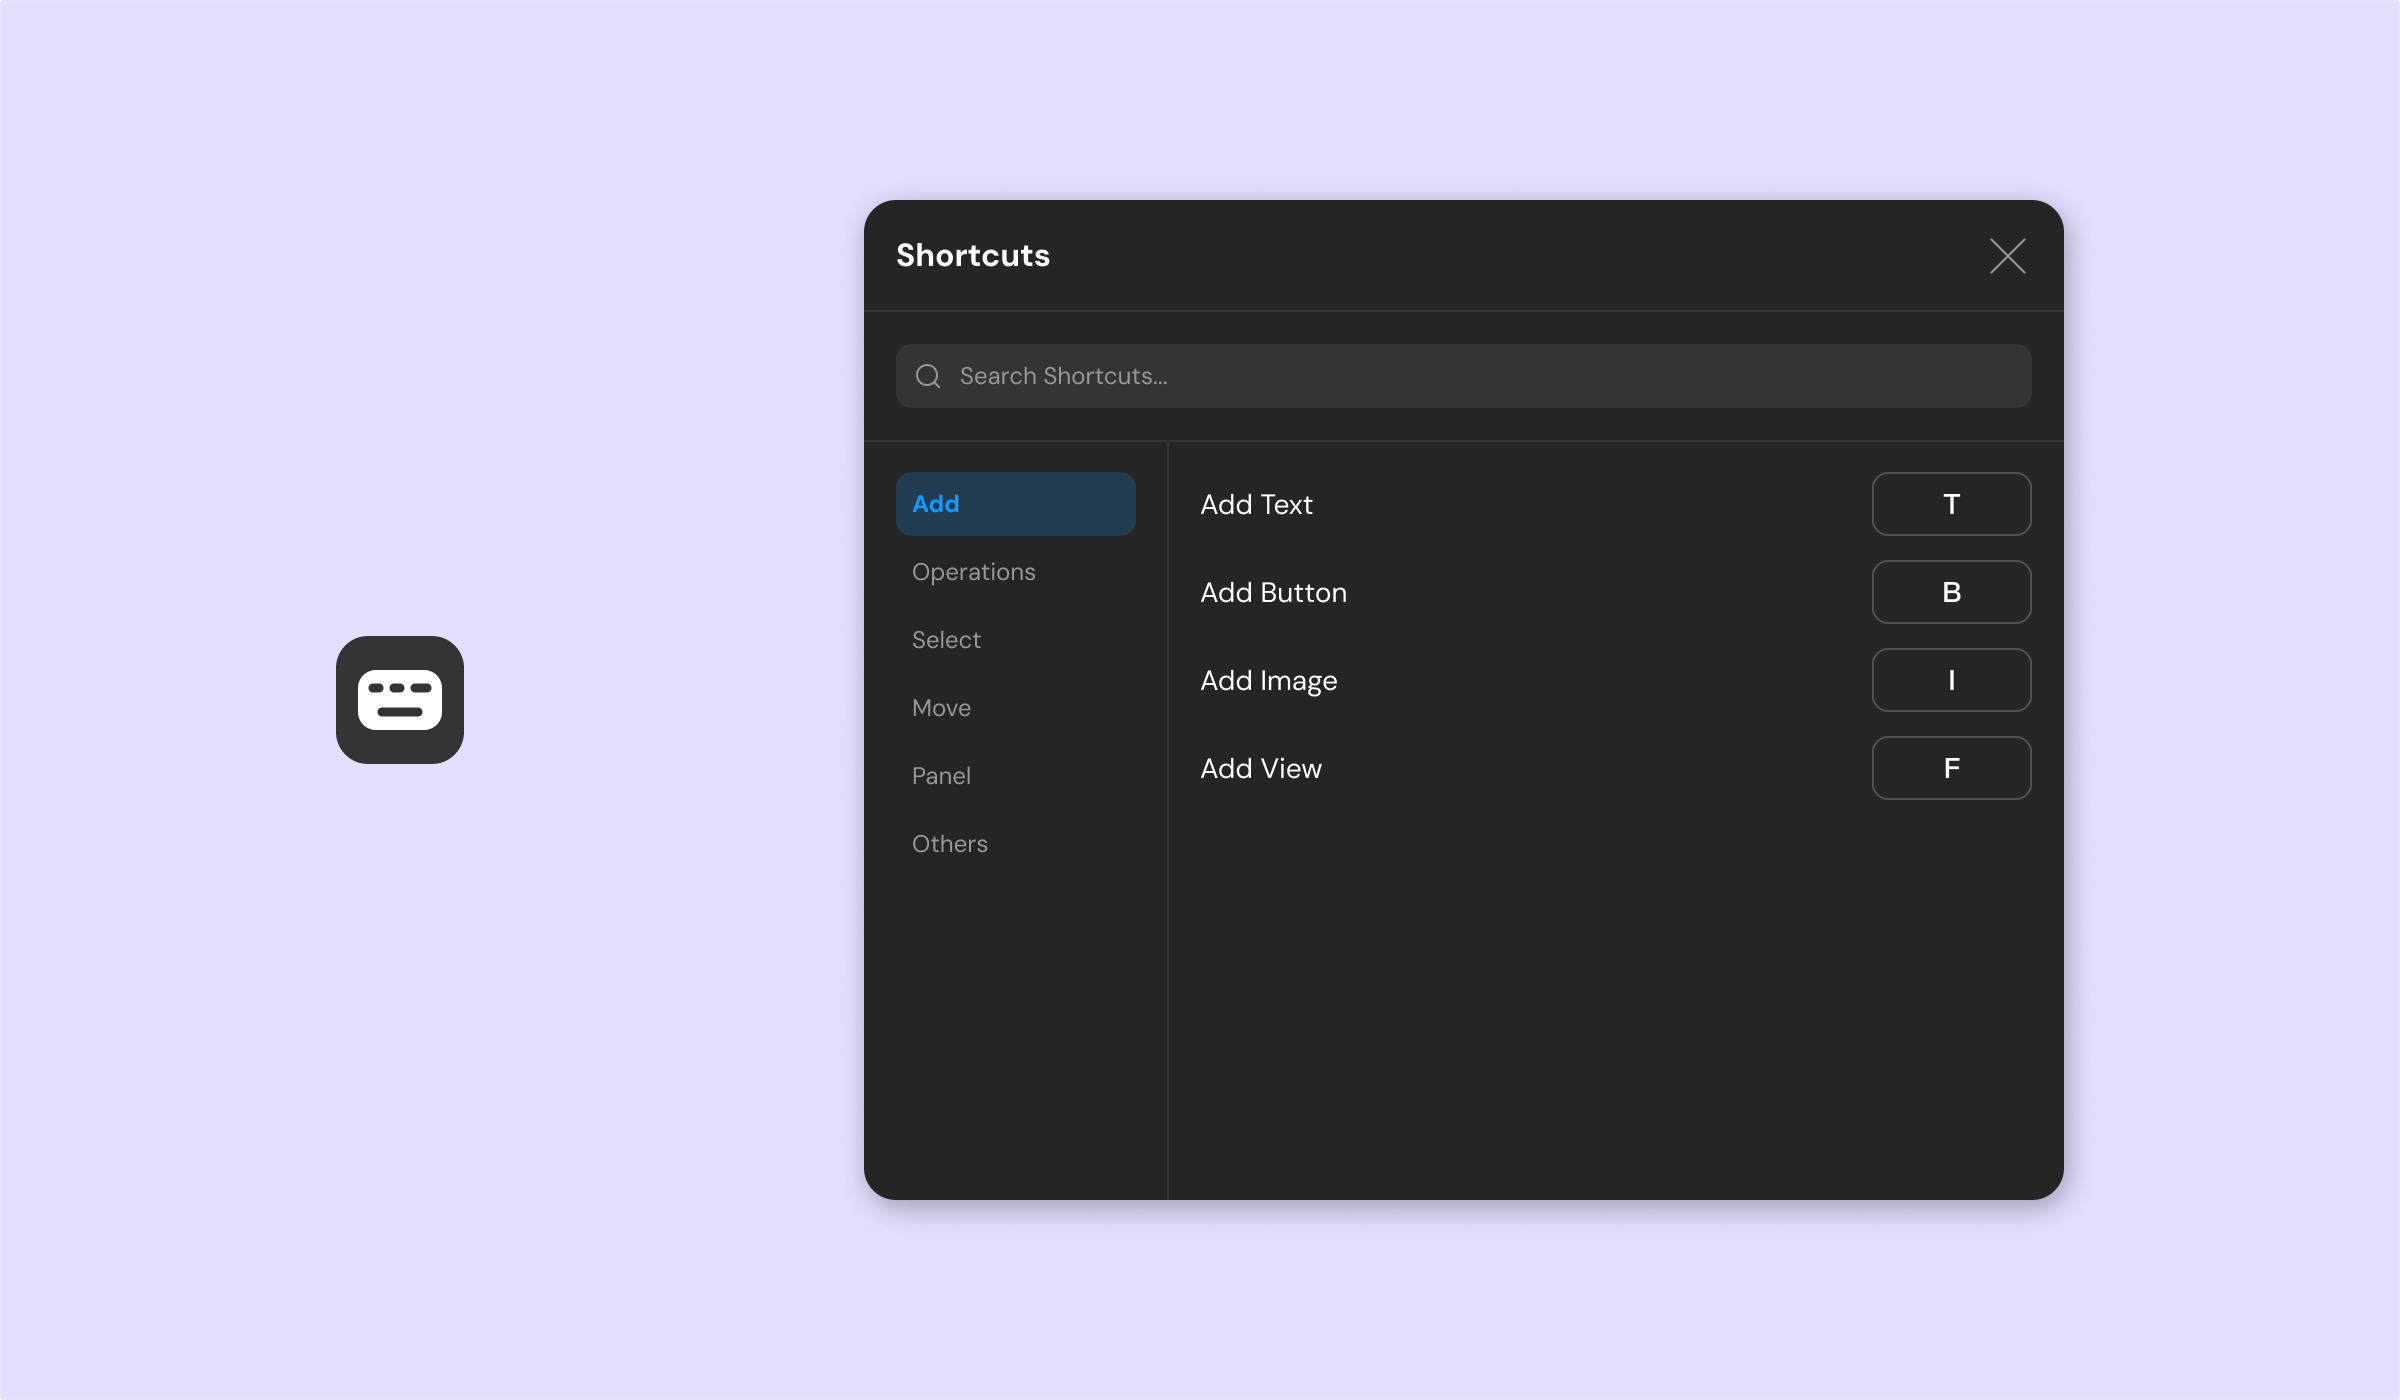
Shortcuts
View all available shortcuts by clicking the Shortcuts icon in the toolbar.
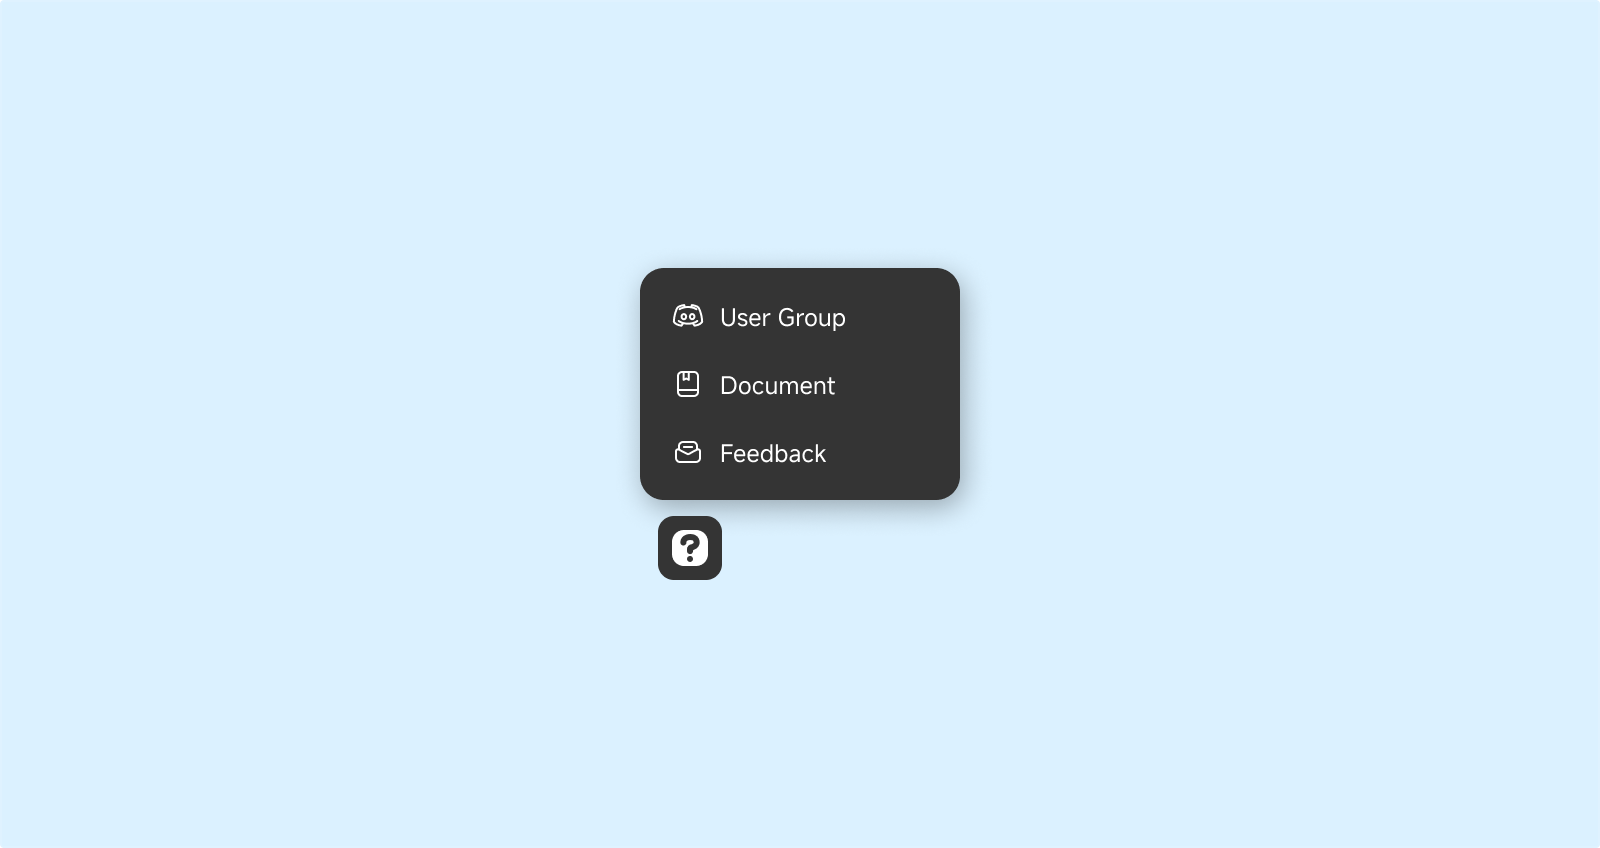
Help
Access tutorials, documentation, and connect with the community through the Help section.
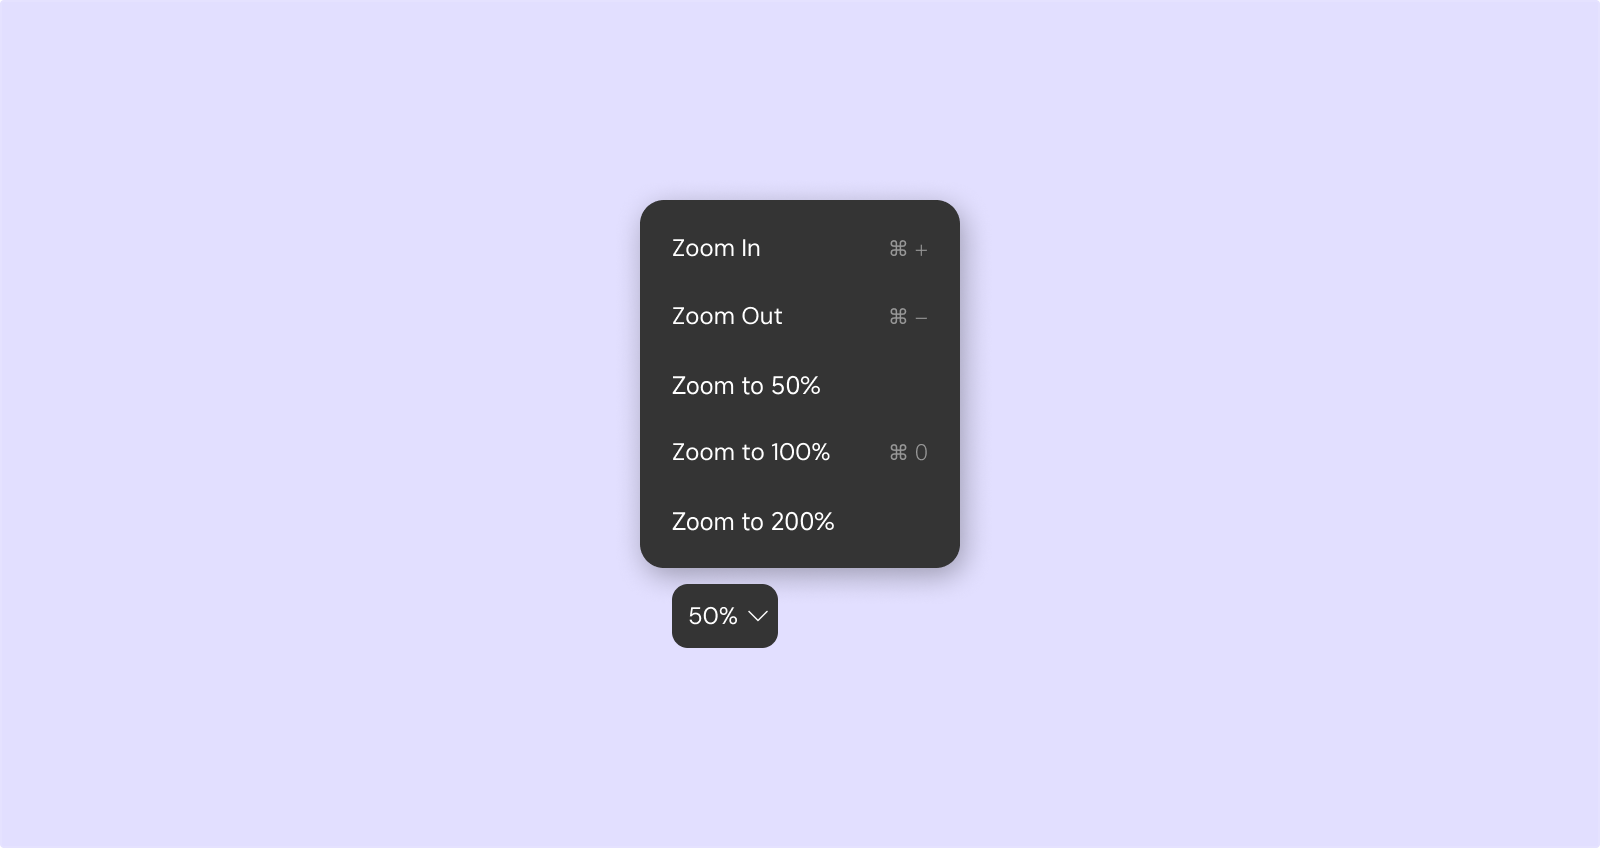
Canvas Zoom
Adjust the canvas zoom level freely. Common shortcuts include:
Zoom In: ⌘ +
Zoom Out: ⌘ -
Reset to 100%: ⌘ 0