Conditional View
Overview
Conditional View allows you to display different UI content based on specific conditions. This component is useful for scenarios such as showing different interfaces for users with different permissions, toggling between views with buttons, or creating tab-like navigation. It enables dynamic and context-sensitive UI within a single page.
Usage Scenarios
- Different Views on the Same Page: Show different content for logged-in and non-logged-in users, or for users with different roles.
- View Switching with Buttons: Change the displayed content by clicking a button (e.g., switch to a CAPTCHA countdown after clicking “Send CAPTCHA”).
- Combining with Select View: Create tab bar effects or expand/collapse catalog subsets based on user selection.
Adding Subviews in Conditional View
You can add, modify, or delete subviews within a Conditional View to display different content under different conditions.
For example, on a login screen, you might have three user identities: “visitor,” “user,” and “admin.” To display different content for each, add three subviews to the Conditional View.
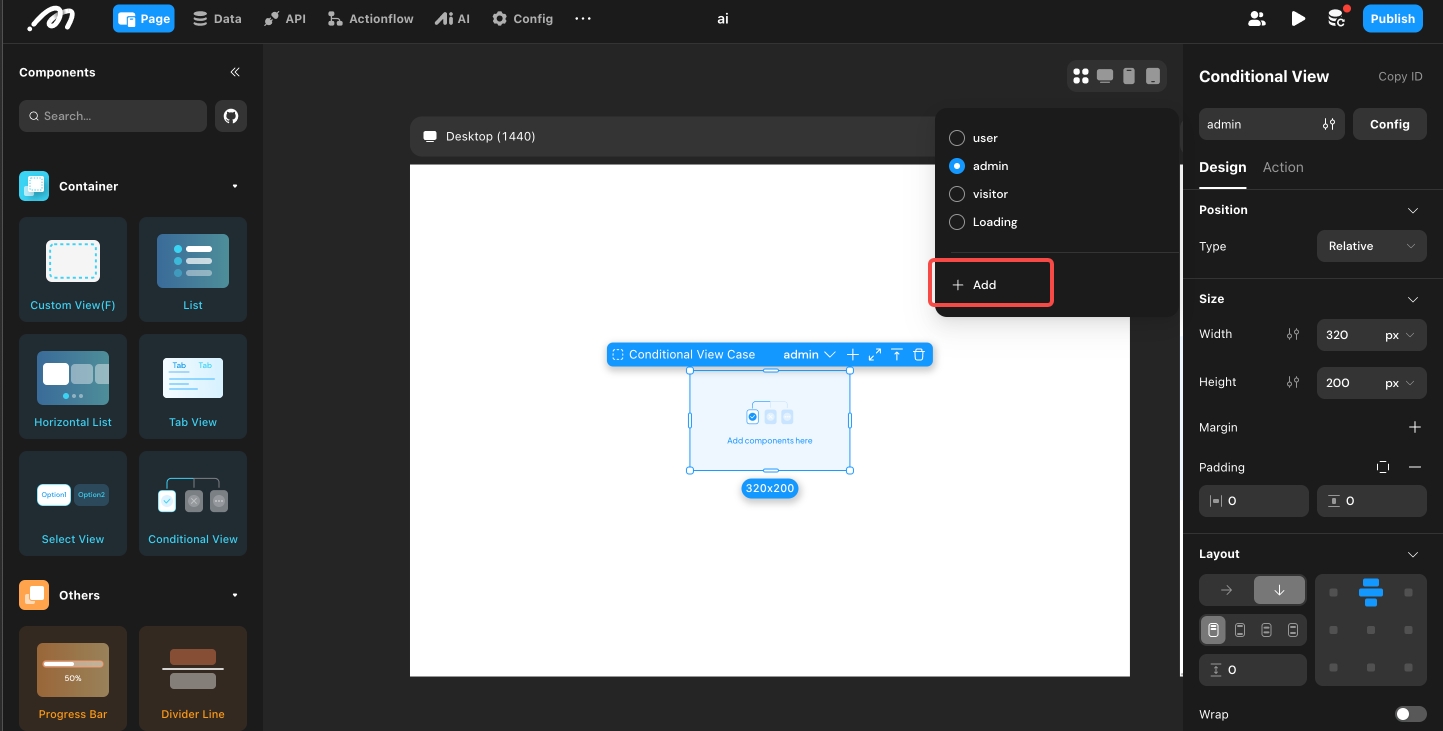
Tip: The Conditional View includes a default ‘Initializing’ state. This sub-container is displayed when the data required for the condition expression is not yet ready (e.g., variables are initializing or data loading is in progress). This state cannot be deleted or reconfigured; it is recommended to keep the default settings.
After adding subviews, click “Focus Mode” to enter the conditional subview editor. Here, you can see all subviews, configure their display conditions, and drag components to build the corresponding UI.
Conditional Evaluation Order
Subviews are evaluated in order from left to right (or top to bottom, based on the order of addition). The first subview whose condition is met will be displayed. If no conditions are met, the last subview is shown.

Tips:
- Change the order of conditions by dragging the condition name in the Conditional View content bar.
- If all conditions are set to “always,” the topmost subview is displayed.
- If no conditions are set, all subviews default to “always.” You can then use the [Switch View Condition] action to toggle between subviews.
- Preserve state on switch: When enabled, components in hidden conditional view will remain active in the background, preserving all input data and states for when you switch back.
Rerun Conditions on Remote Data Update
If remote data is used as a condition, you may need to recalculate conditions in real time as data changes. Enable the [Remote Condition on Remote Data Update] mode to handle this.
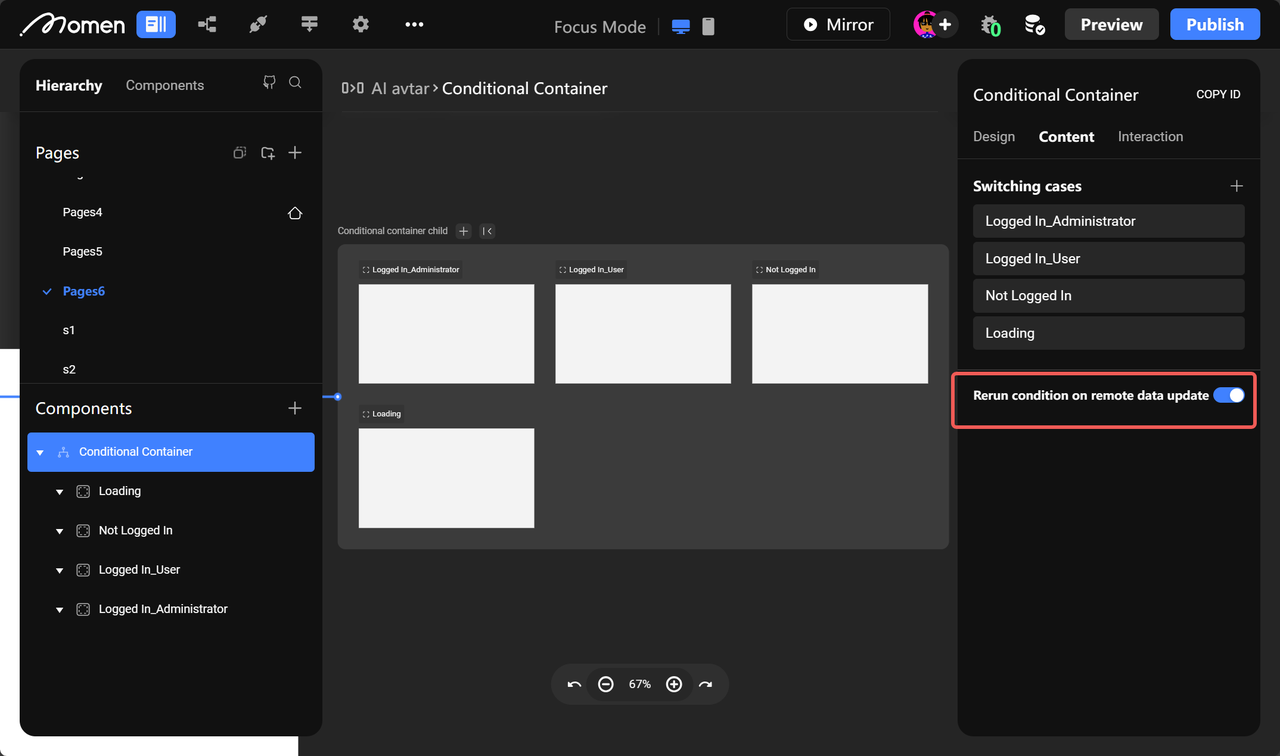
Tip: The update frequency depends on the request type. Query-type requests update on page load or refresh; subscription-type requests update when backend data changes (not applicable to media/file types).
Use Cases
Different Conditions, Different Views
Display different content based on user roles or login status.
- Example: Show a specific view when the user role is “hr” by setting the condition to “user type = hr” and placing relevant components in that subview.
| Condition | Subview Content |
|---|---|
 | .png) |
- Example: Show a registration view for non-logged-in users and an update view for logged-in users.
Tip: For non-logged-in users, configure a one-click authorization button to complete login, refresh user data, or switch to the logged-in view.
Button-Triggered View Switching
Use a button to switch between subviews, especially when conditions are set to “always.”
- Example: In a login form, place the password input in a Conditional View. Clicking show/hide toggles the password display mode.
- Example: On an e-commerce page, use Conditional View to switch between “item in cart” and “item not in cart” states.
Tip: Predefine the possible states for Conditional View. For example, check if the user’s cart contains the current item and set the condition accordingly. Avoid setting all conditions to “always,” or the first subview will always display.
Combining with Selection View
- Example: Use Conditional View to display different content based on selection, similar to a tab bar.
- Example: On a shopping page, display parent categories first, then expand sub-categories after selection. See the [Help Center] for details on configuring Conditional View with Selection View for expanding subdirectories.