Project Management
Project management includes: creating, cloning, transferring, and resetting projects.
Create Project
Create a blank project, or create a project based on a template.
Clone Project
Cloning a project means duplicating an existing project (with the option to include the database) into a new project.
Clone Project Data
If you choose to clone project data, the database will also be cloned. However, this will consume Database Storage in the new project and cloning will take a longer time. If you choose not to clone project data, the database will not be cloned.
Specific Steps
Right-click Project
Right-click the project you want to clone in the Personal Center and select “Clone project”.
Clone Project Data
Choose whether to check the “Project data” option.
Confirm Creation
Click the “Create” button.
Transfer Project
Transferring a project means completely transferring the ownership and management rights of a project from the current owner (transferor) to another user (transferee).
Discounted projects (Education editions) do not support transfer.
- After the transfer, the roles of the transferor and transferee will be swapped. For example, if transferring a project to a “Viewer”, the transferor becomes the “Viewer” and the transferee becomes the “Owner”.
- The project recipient must be a collaborator on the project. Therefore, the prerequisite for transferring a project is to add the project recipient as a project collaborator. For specific permissions of project collaborators, please refer to Collaboration.
Specific Steps
Access “Share the project and Manage collaborators”
There are 3 ways to access “Share the project and Manage collaborators”:
- Right-click the project you want to transfer in “User center” and select “Share the project and Manage collaborators”.
- In Personal Center, click “Manage”, then click “Collaborators Management”.
- Enter the project, click “Invite Collaborators” in the upper right corner.
Add Collaborator
Add the project recipient as a project collaborator.
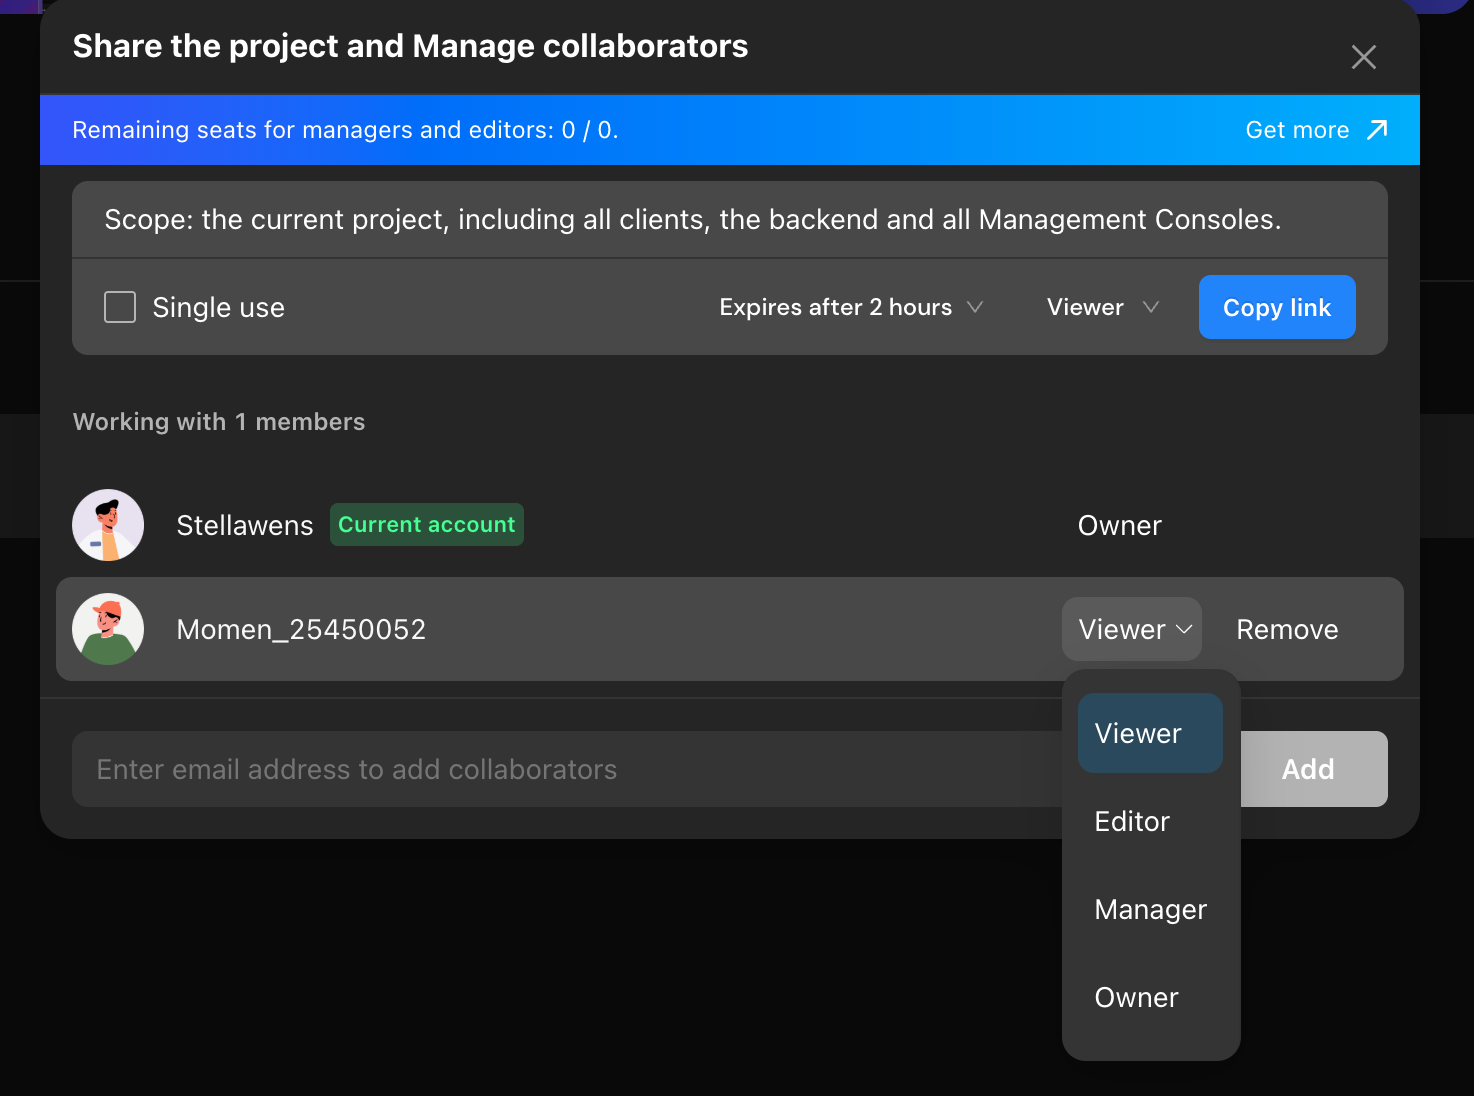
Change Owner
Change the project recipient’s role to “Owner”.
Execute Transfer
Follow the instructions in the “Transfer Project” pop-up window, input the full project and user name to confirm, and click “OK”.
Reset Project
Resetting a project means restoring all content of the project to its state when it was newly created. Projects created from a template will revert to their initial template state after being reset.
Resetting will permanently delete the following items:
- All database records and stored media files.
- All configurations (permissions, payments, auth, domains).
- All backend logic (Actionflows, APIs, AI Agents).
- All frontend pages and UI designs.‘
Specific Steps
Enter Reset Page
Enter the project → Click “Settings” in the top navigation bar → Select “Project Reset”.
Confirm Risk
- The system automatically pops up a warning dialog → Carefully read the data deletion list.
- Enter the required content.
Execute Reset
Click the “Confirm reset” button.

Hibernate Project
For unpublished projects with Free plan, if there is no activity for 7 consecutive days, the project will be automatically hibernated. To reactivate the project, simply access it again.
Delete Project
Projects can be deleted in two scenarios:
- For unpublished projects with Free plan, if there is no activity for 6 consecutive months, the project will be automatically deleted. Once deleted, the project cannot be recovered.
- User manually deletes the project.
Once a project is deleted, the subscription will be immediately canceled, and no further fees will be charged. All associated benefits will be lost, and the project will no longer be accessible.
Specific Steps
Right-click Project
In “User center”, right-click the project you want to delete, and select “Delete”.
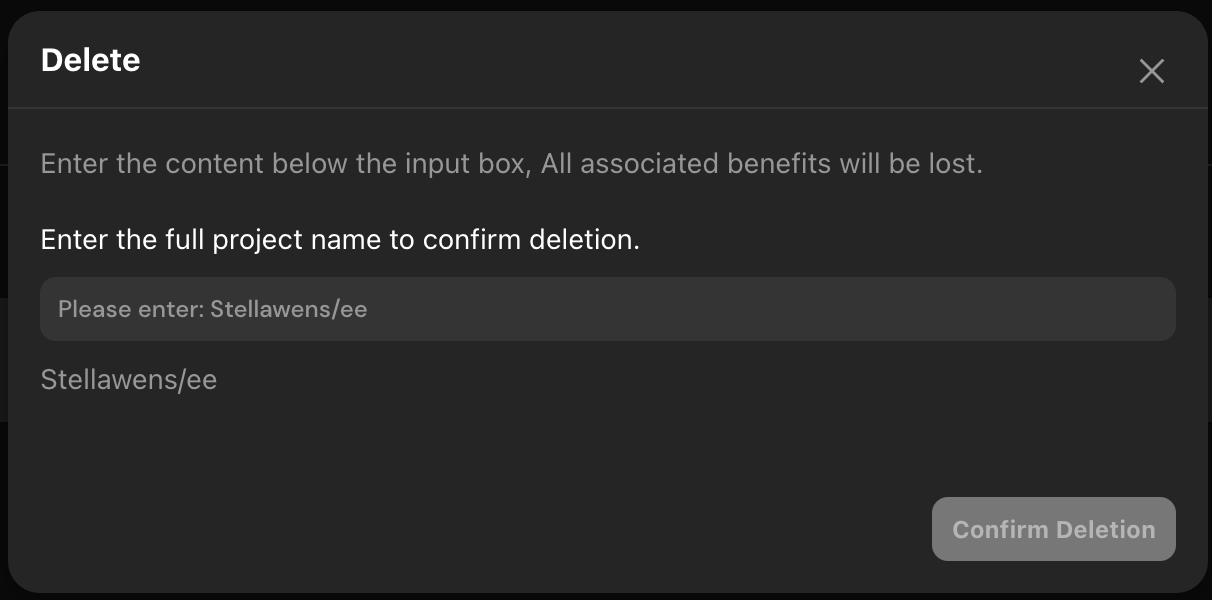
Confirm Risk
Carefully read the risk warning, enter the required content.
Execute Delete
Click the “Confirm Deletion” button.